| Drawing screen |
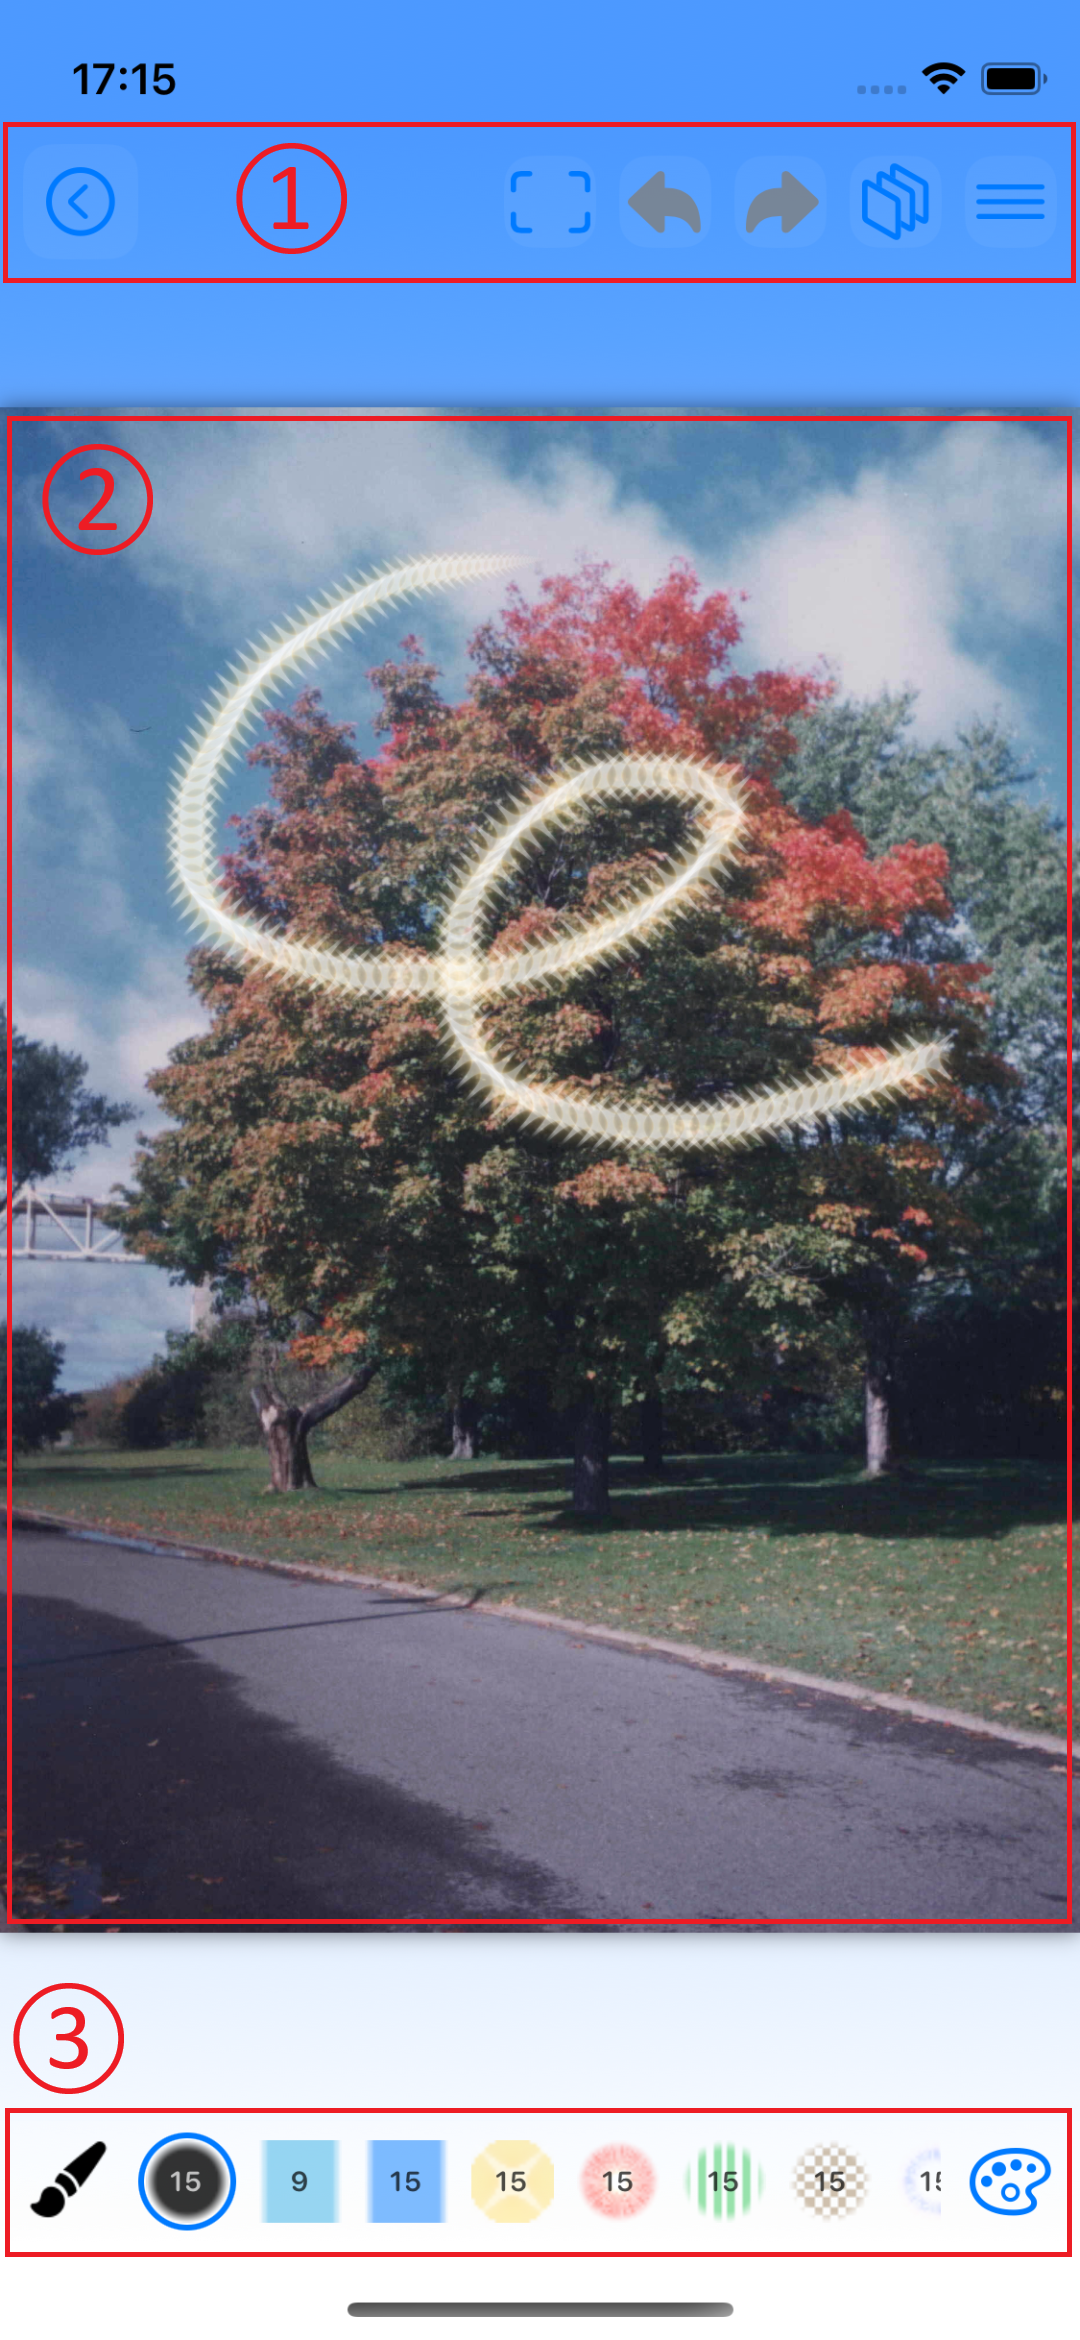 |
* Drawing Screen
1. Functions at the Top of the Screen (From Left)
 Save : Saves the data and returns to the data list screen. Save : Saves the data and returns to the data list screen.
 Fit to Screen : Fits the image to the screen size. Fit to Screen : Fits the image to the screen size.
 Undo : Undo one editing action. Undo : Undo one editing action.
 Redo : Undo one action. Redo : Undo one action.
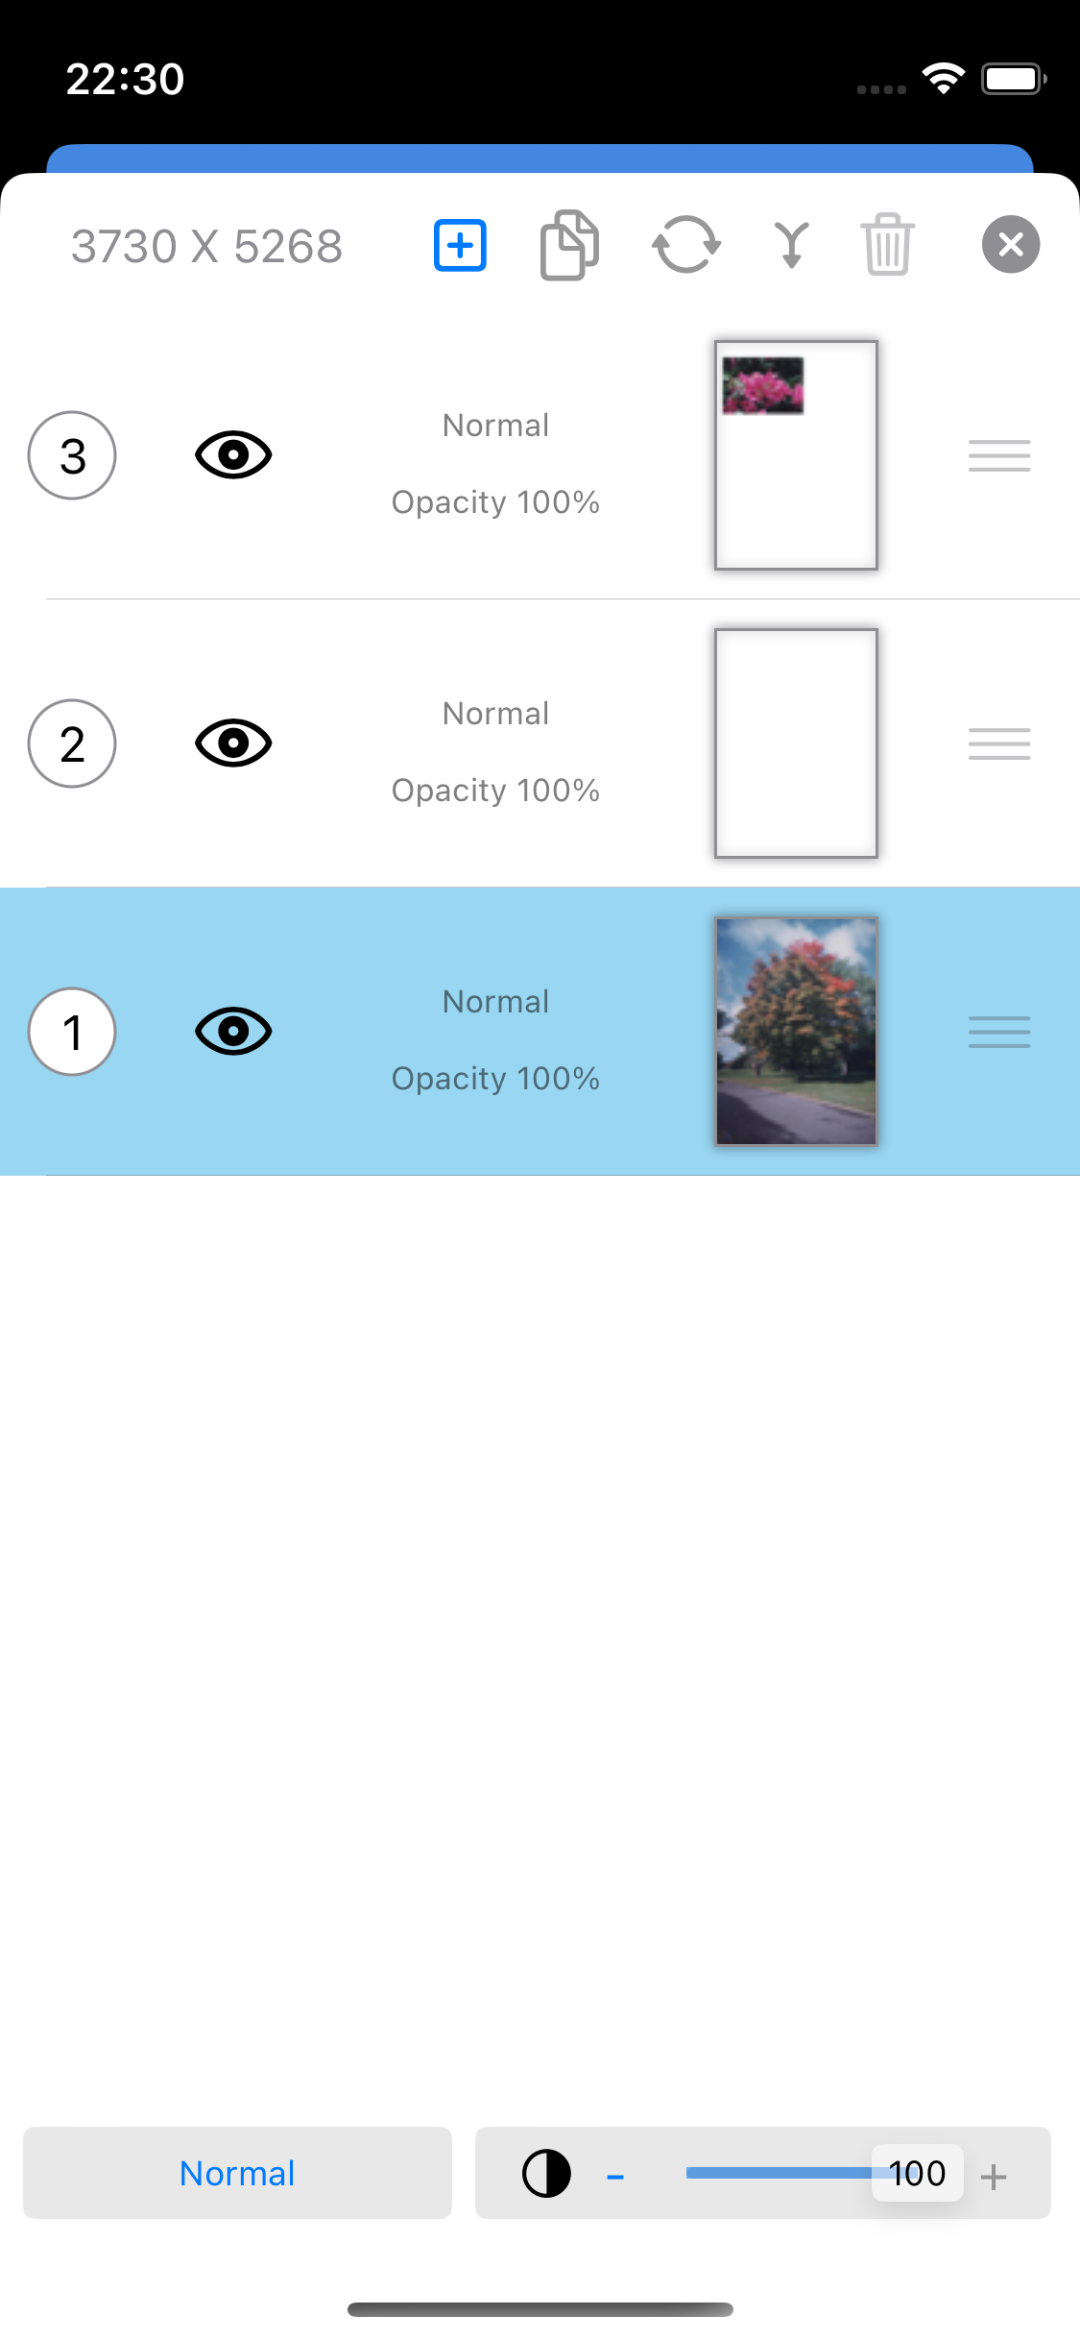
 Layer : Displays the layer menu. Layer : Displays the layer menu.
 Edit : Displays the edit menu. Edit : Displays the edit menu.
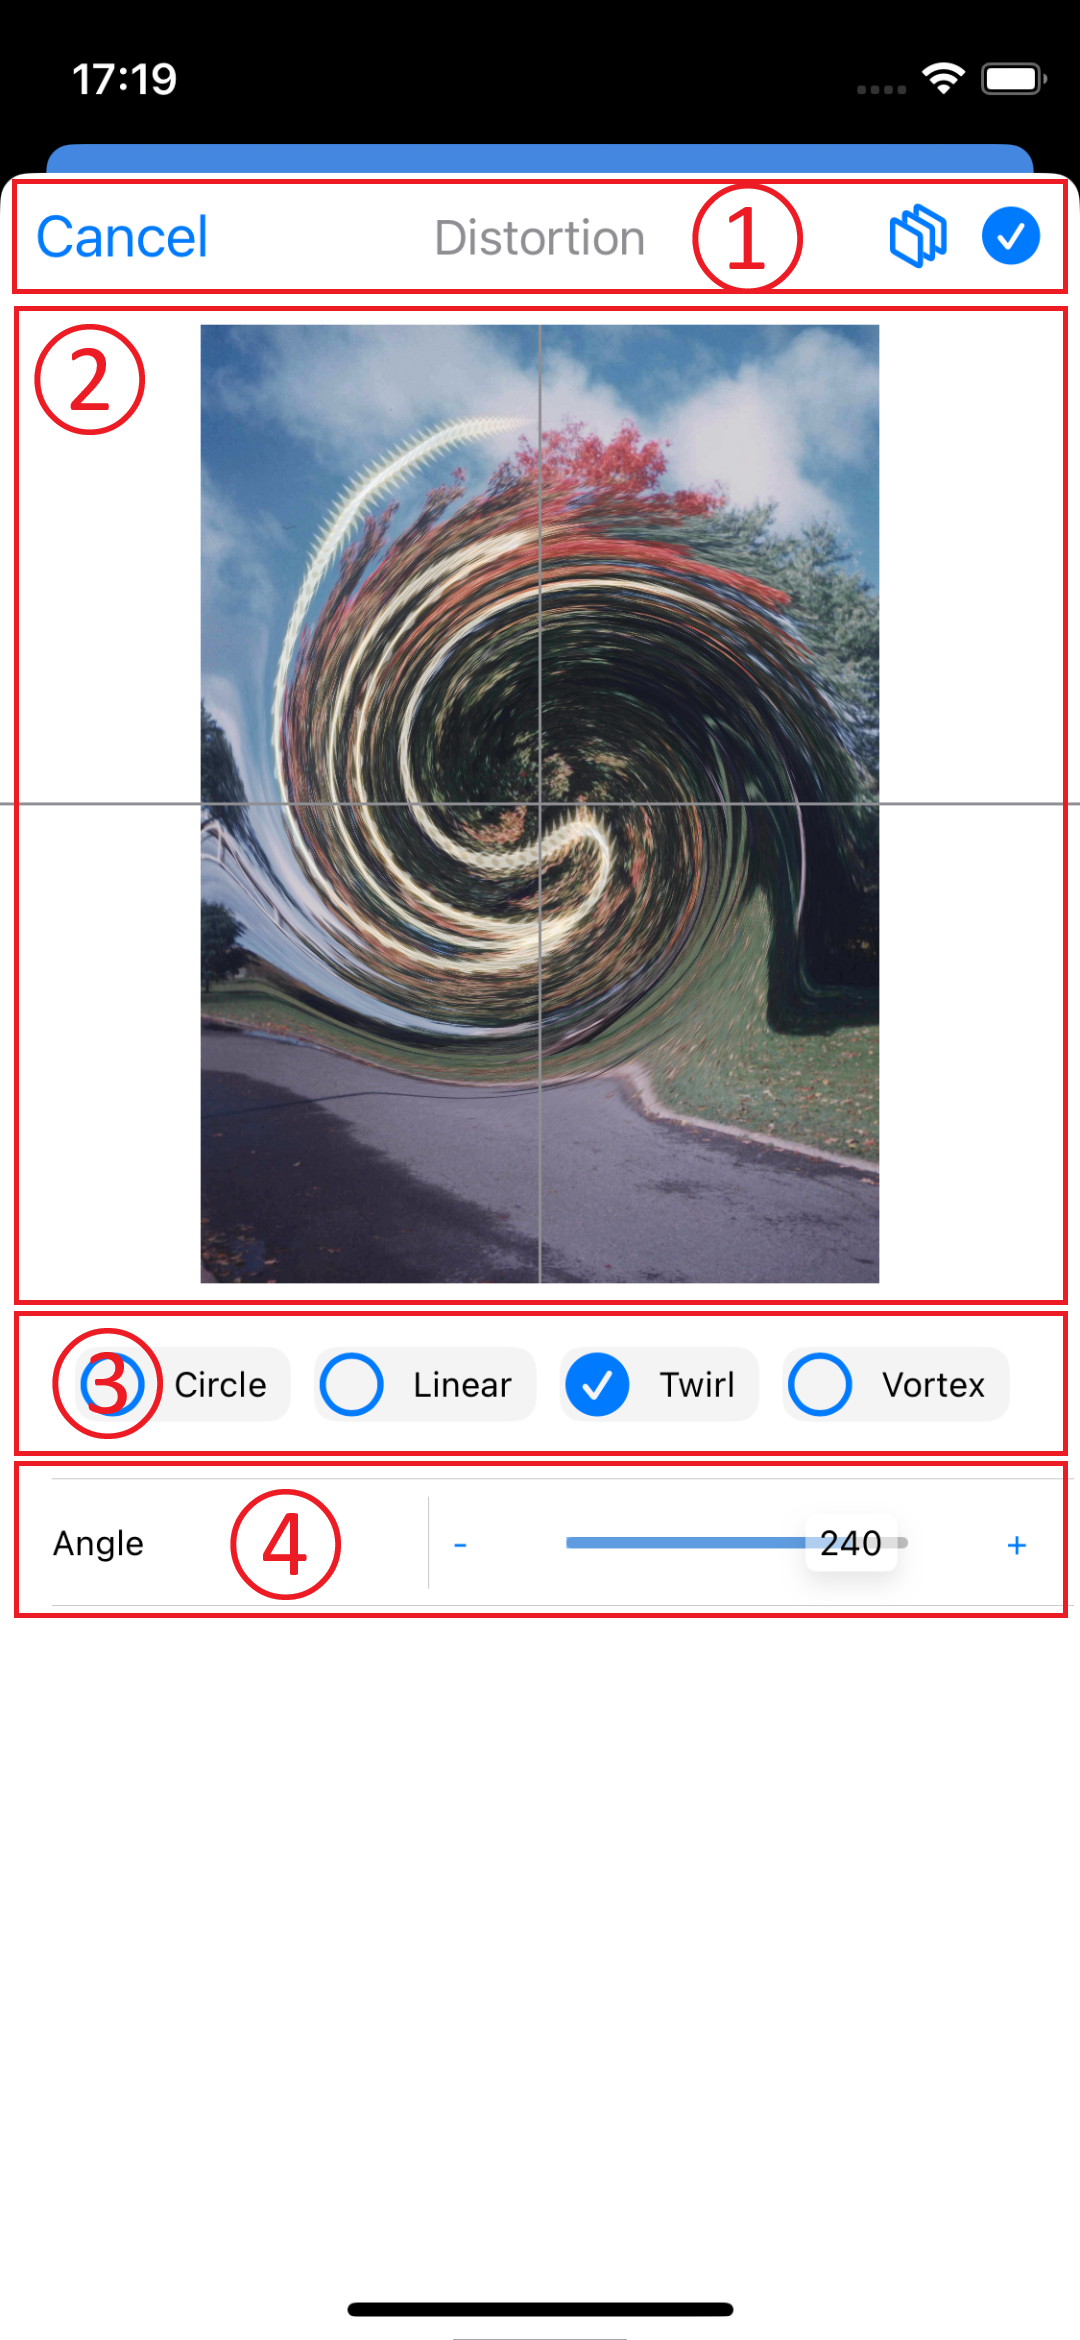
2. Drawing Area
- Drag with one finger : Draw with the selection brush.
- Pinch in/out : Zoom in/out the image display.
- Drag with two fingers : Pan the image display.
- Double tap : Cancel a selection, if any.
3. Bottom of Screen Functions (from left)
 Toolbox : Displays the Toolbox pop-up menu. Toolbox : Displays the Toolbox pop-up menu.
- Brush icon on the scroll bar : Displays a list of brushes to use for drawing.
 Brush Editing Screen : Displays the editing screen for the brush list displayed on the scroll bar. Brush Editing Screen : Displays the editing screen for the brush list displayed on the scroll bar.
* Brush Icon
- Tapping a brush selects it as the drawing brush. (The blue circle is the selected brush.)
- Tapping the selected brush allows you to customize that brush.
- Double-tapping the selected brush allows you to edit the brush's color.
- Press and hold the brush icon to display the pop-up menu.
|
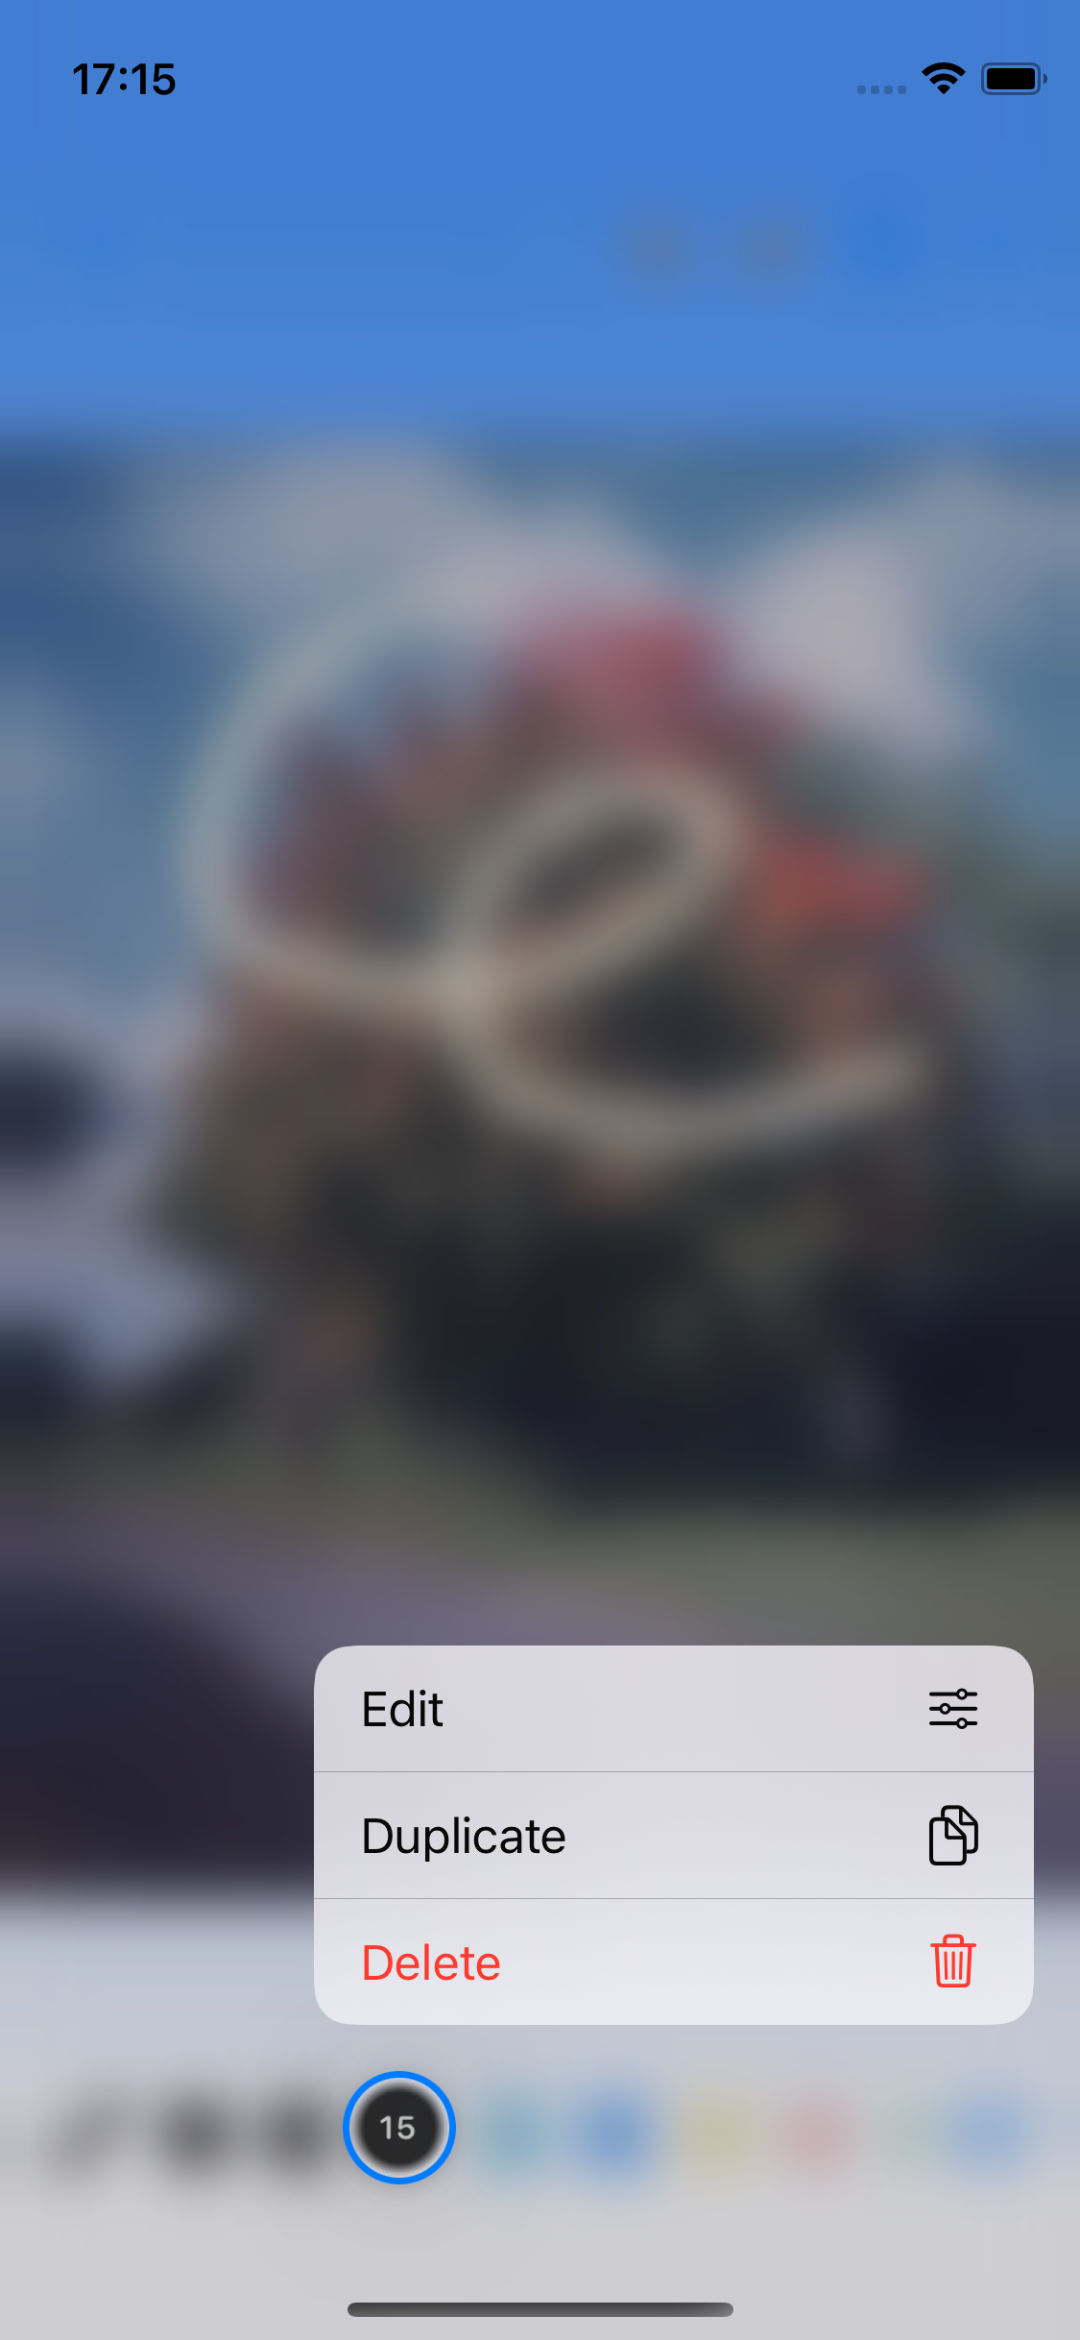 |
* Press and hold the brush icon to display the pop-up menu.
 Edit : The selection brush editing screen will appear. Edit : The selection brush editing screen will appear.
 Duplicate : Creates a duplicate of the selection brush. Duplicate : Creates a duplicate of the selection brush.
 Delete : Deletes the selection brush. Delete : Deletes the selection brush.
|
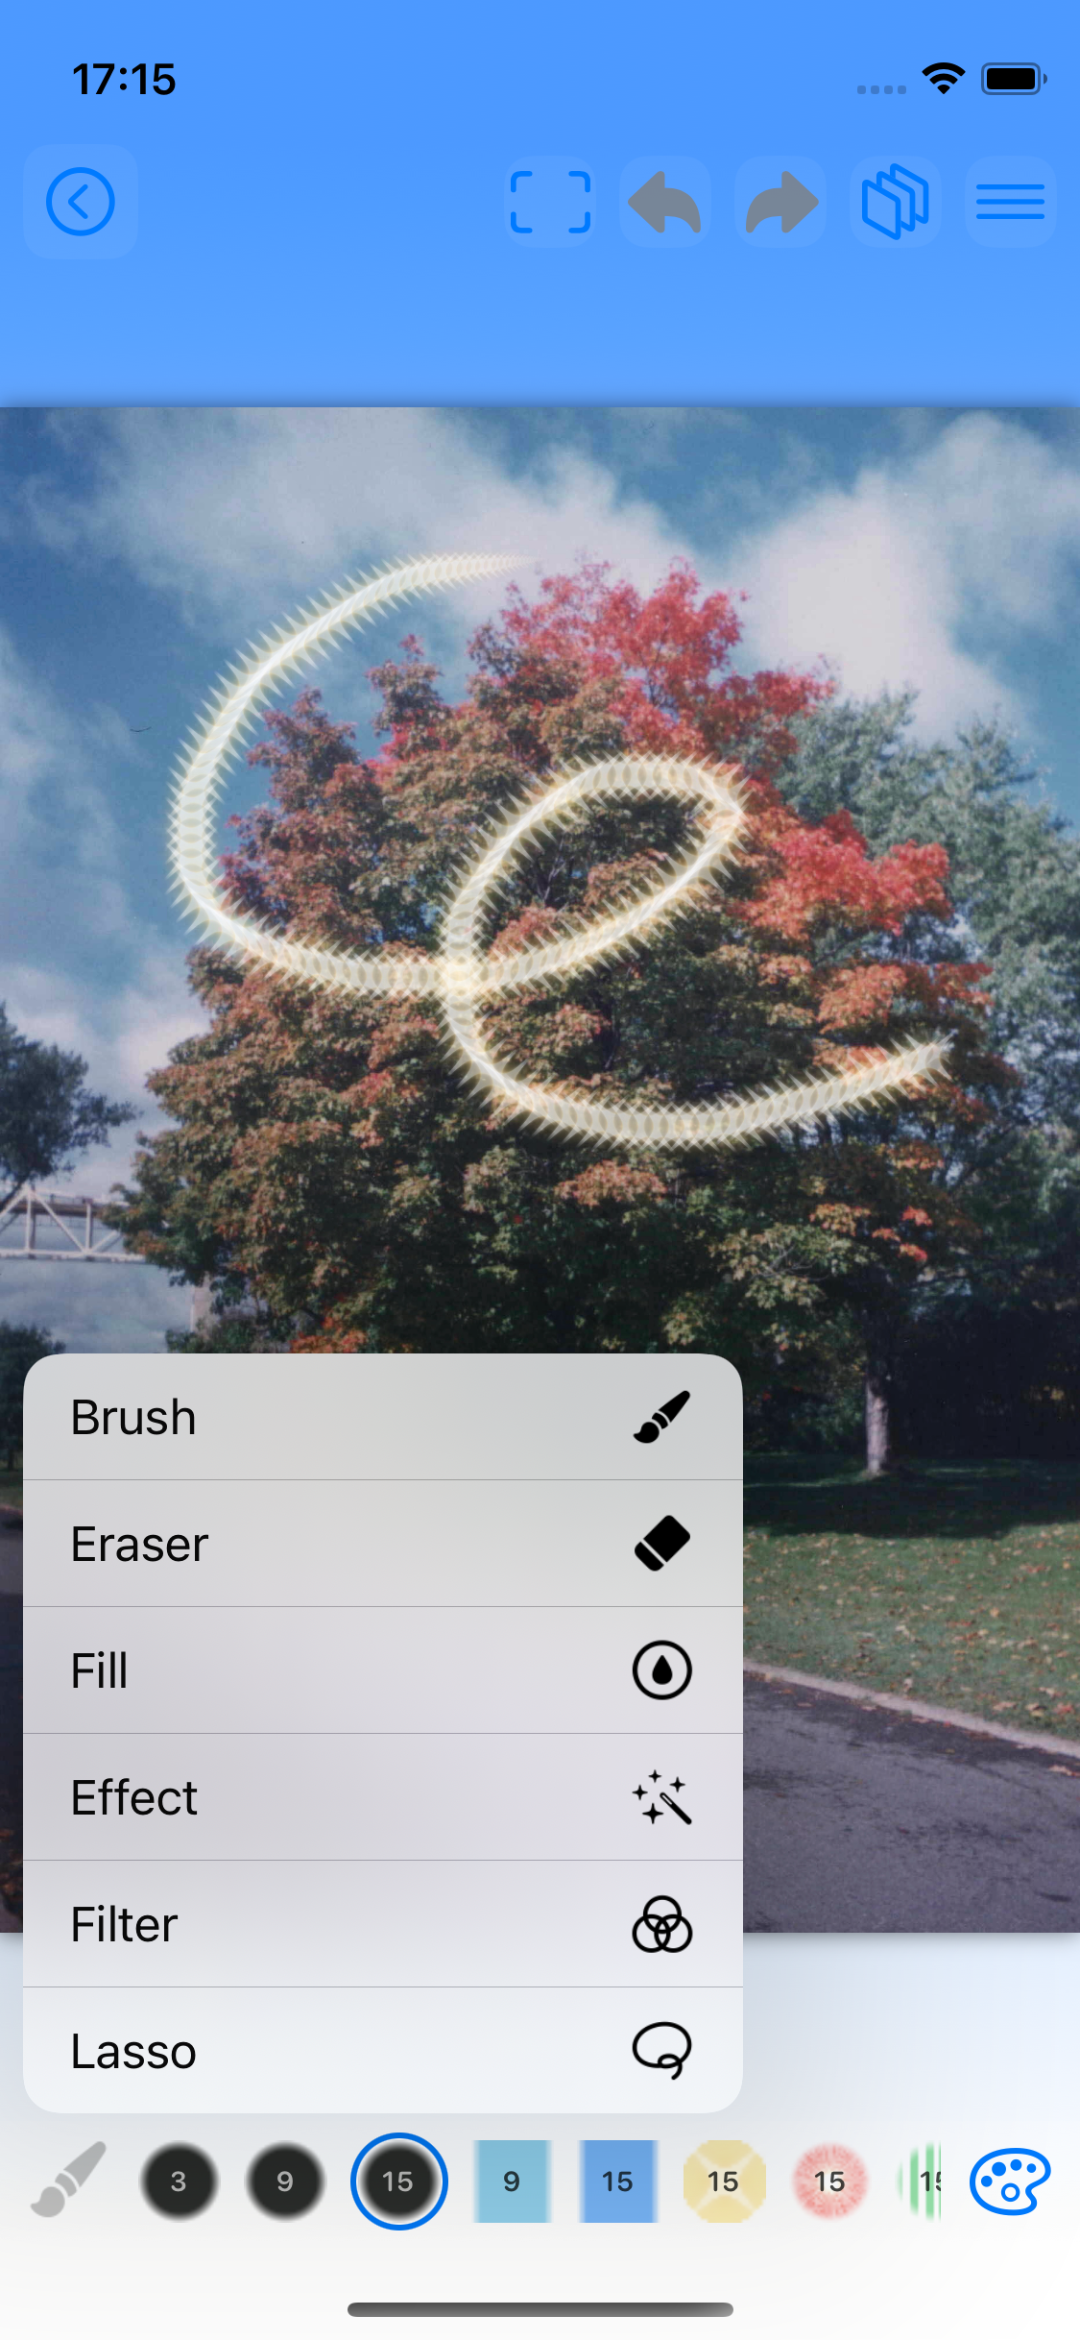 |
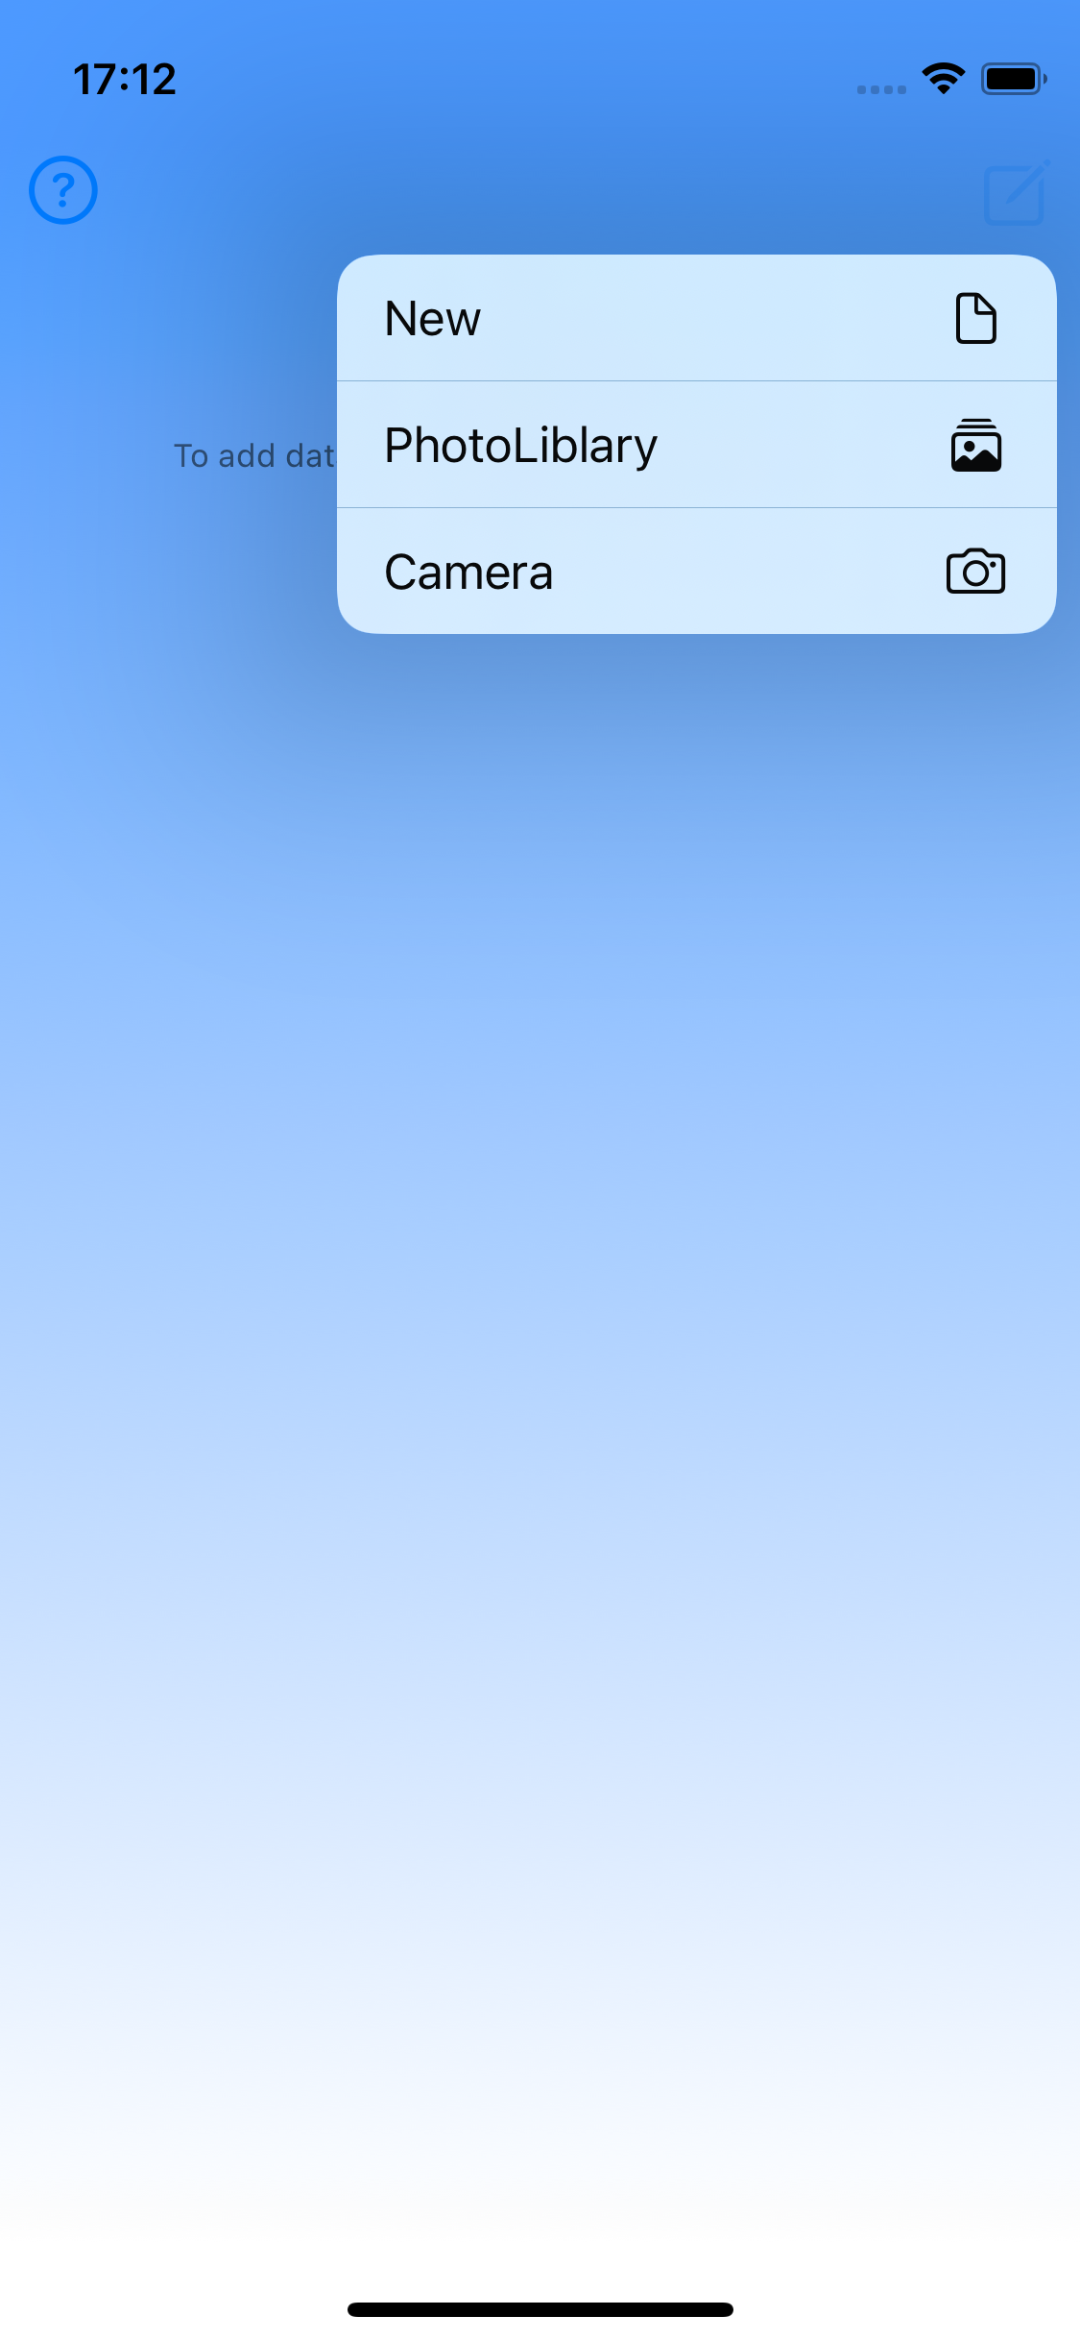
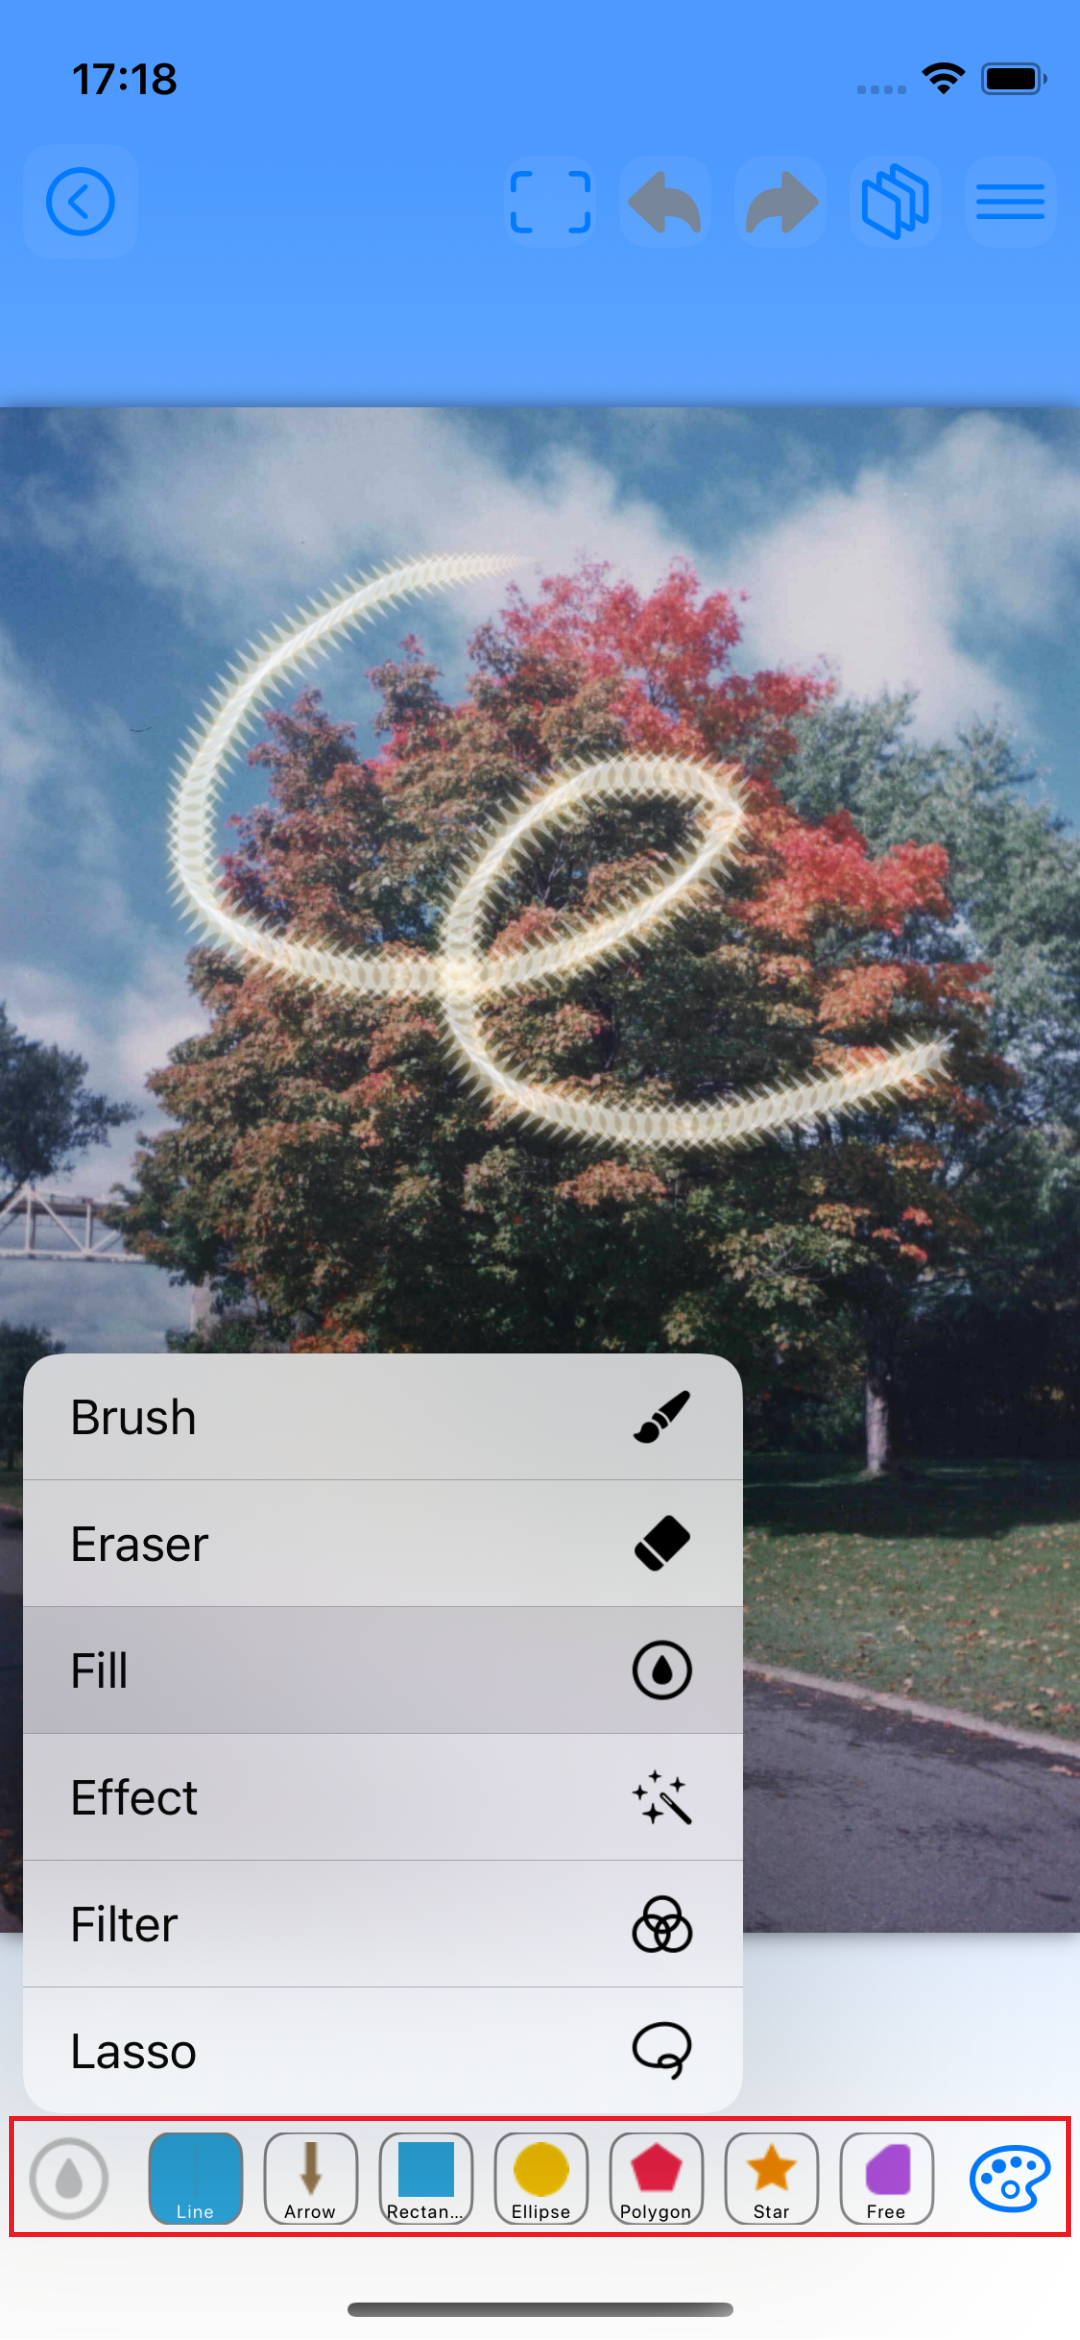
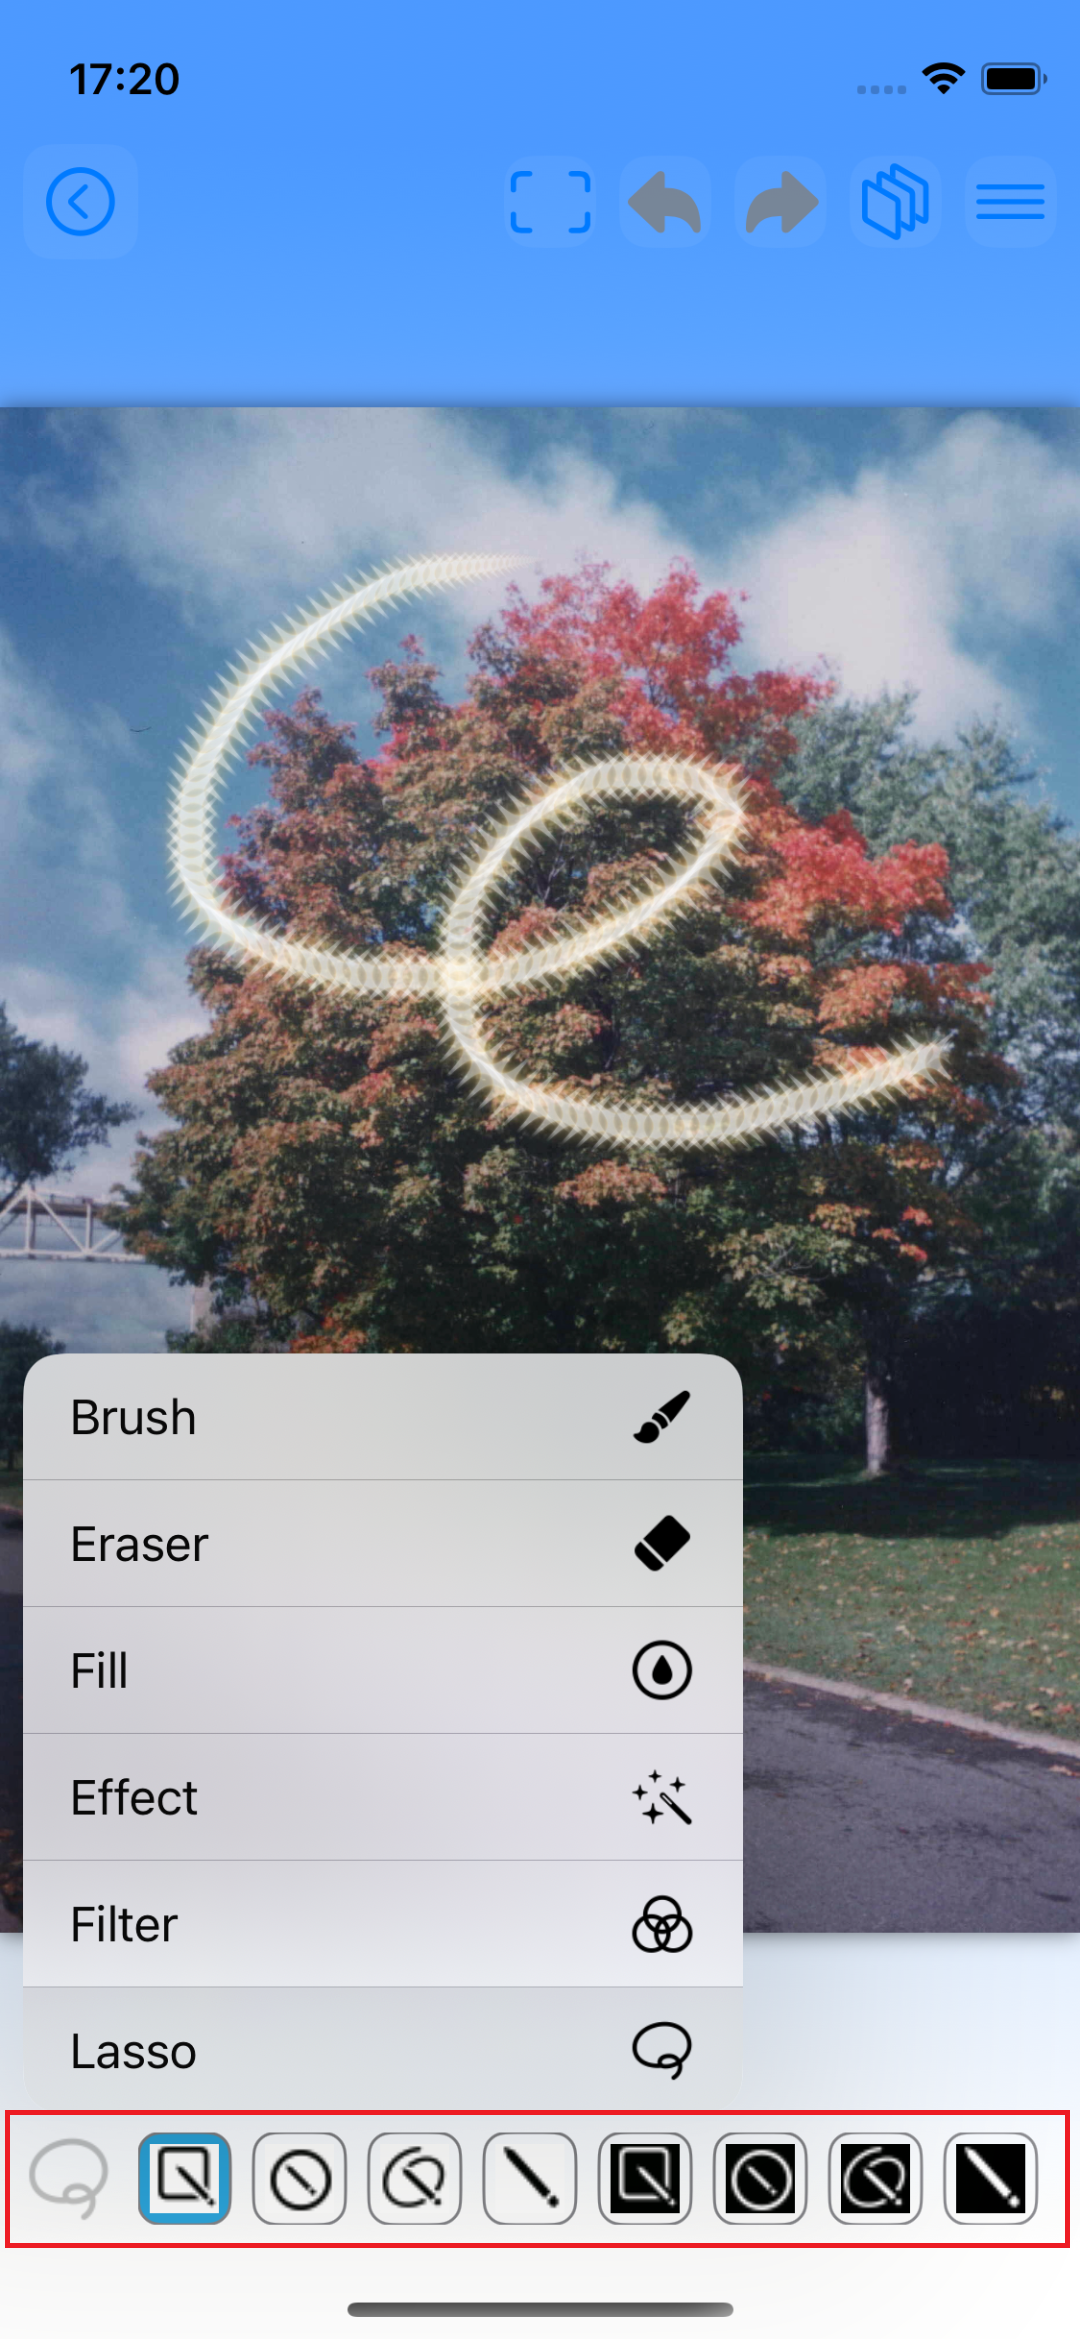
* Tap the icon in the lower left corner to display the pop-up menu.
Paint Brush : A list of paint brushes is displayed in the scroll bar at the bottom of the screen.
 Eraser : A list of eraser brushes is displayed in the scroll bar at the bottom of the screen. Eraser : A list of eraser brushes is displayed in the scroll bar at the bottom of the screen.
 Fill : A list of fill functions is displayed in the scroll bar at the bottom of the screen. Fill : A list of fill functions is displayed in the scroll bar at the bottom of the screen.
 Effect : A list of effect brushes is displayed in the scroll bar at the bottom of the screen. Effect : A list of effect brushes is displayed in the scroll bar at the bottom of the screen.
 Filter : A list of filter categories will be displayed in the scroll bar at the bottom of the screen. Filter : A list of filter categories will be displayed in the scroll bar at the bottom of the screen.
 Area Selection : A list of area selection functions will be displayed in the scroll bar at the bottom of the screen. Area Selection : A list of area selection functions will be displayed in the scroll bar at the bottom of the screen.
|
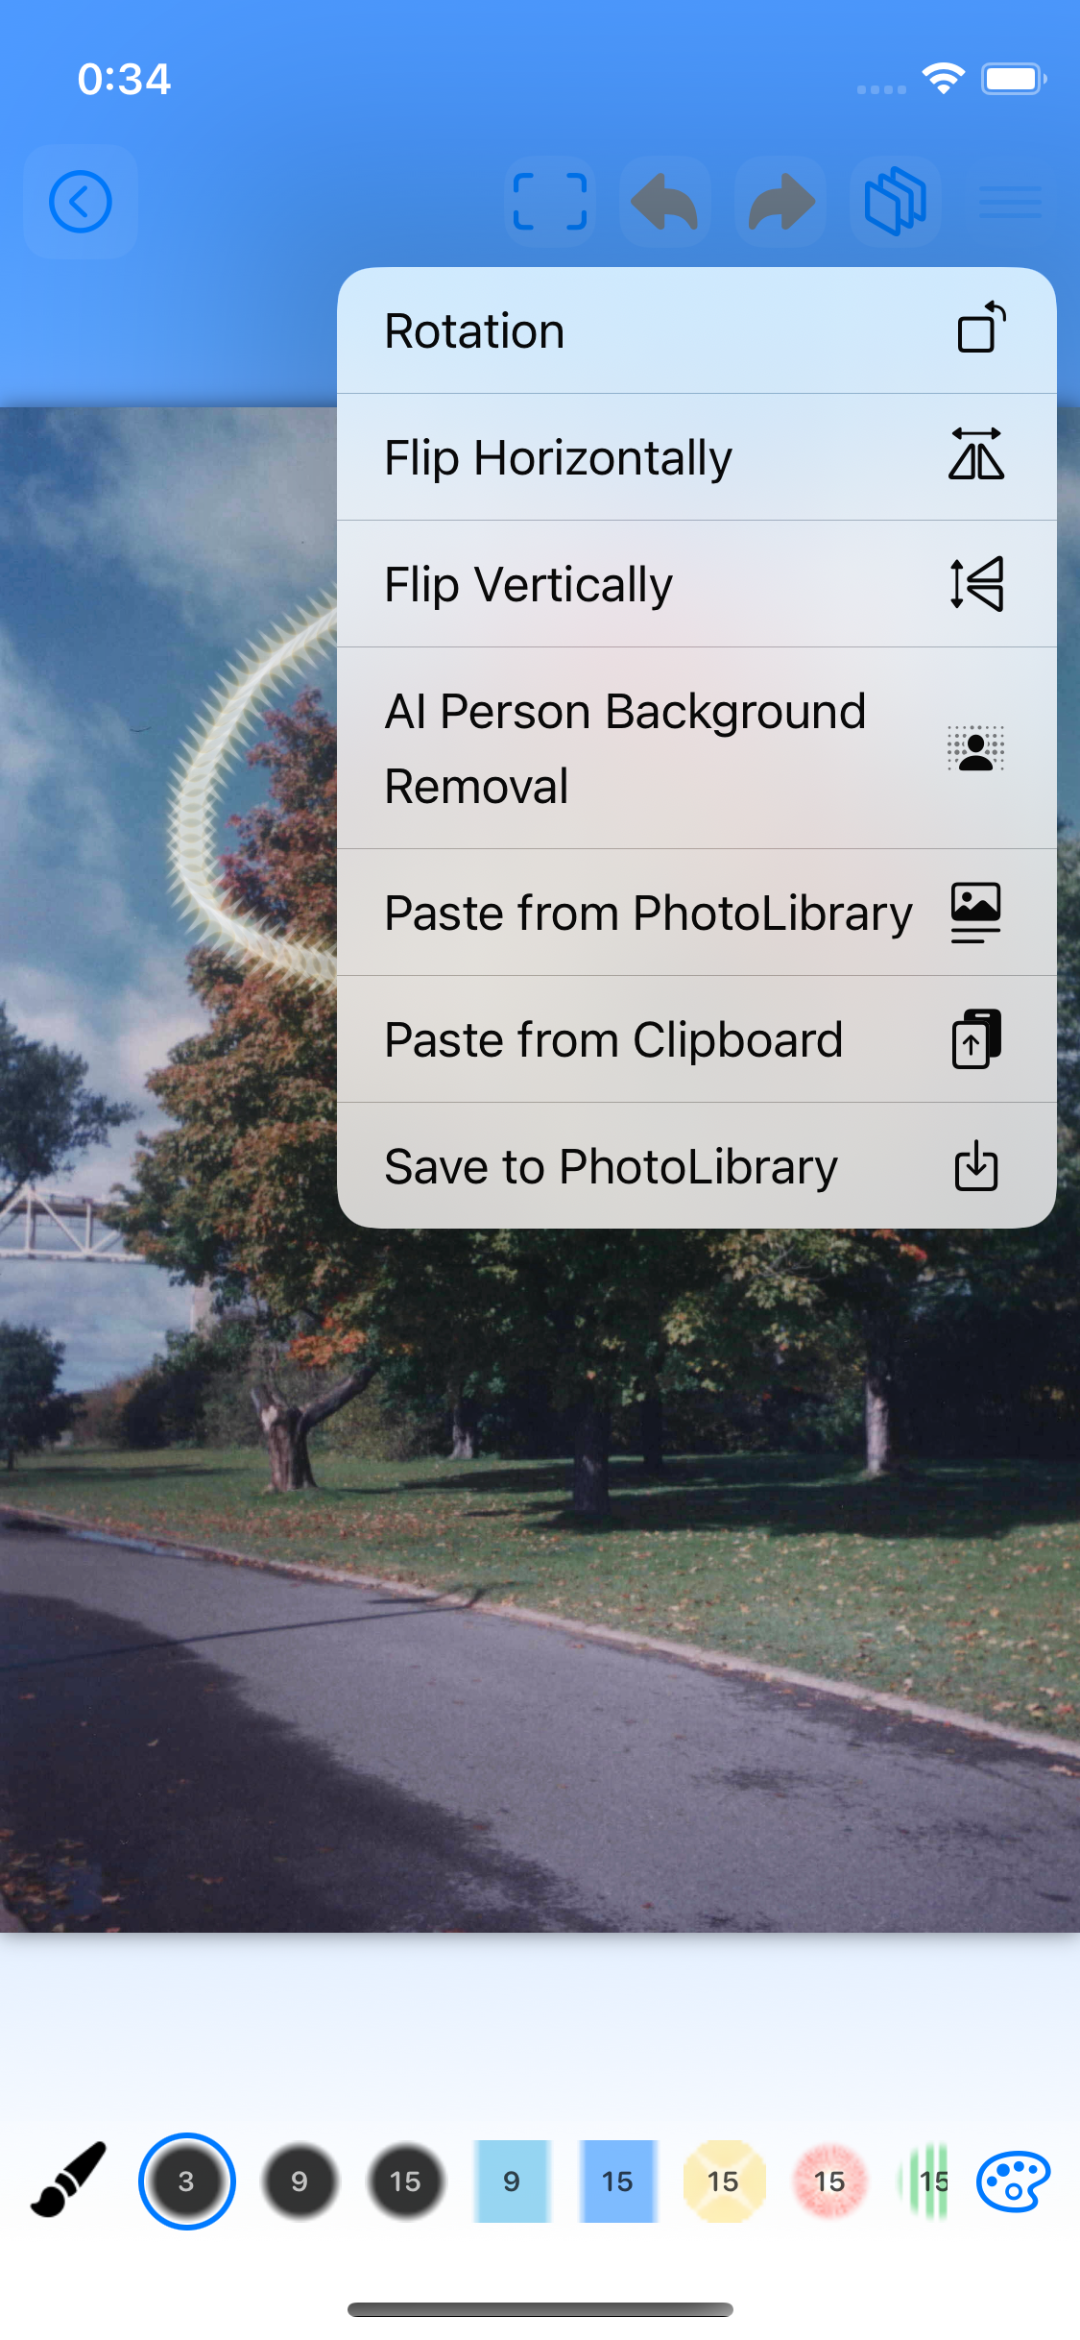 |
* Tap the icon in the upper right corner to display the pop-up menu.
 Rotate : Rotate the data. Rotate : Rotate the data.
 Flip Horizontal : Flip the data horizontally. Flip Horizontal : Flip the data horizontally.
 Flip Vertical : Flip the data vertically. Flip Vertical : Flip the data vertically.
 AI Background Removal : Removes the background of a person. AI Background Removal : Removes the background of a person.
 Paste from Photo Library : Paste from the Photo Library. Paste from Photo Library : Paste from the Photo Library.
 Paste from Clipboard : Paste from the clipboard. Paste from Clipboard : Paste from the clipboard.
 Save to Photos Library : Save to Photos Library. Save to Photos Library : Save to Photos Library.
|
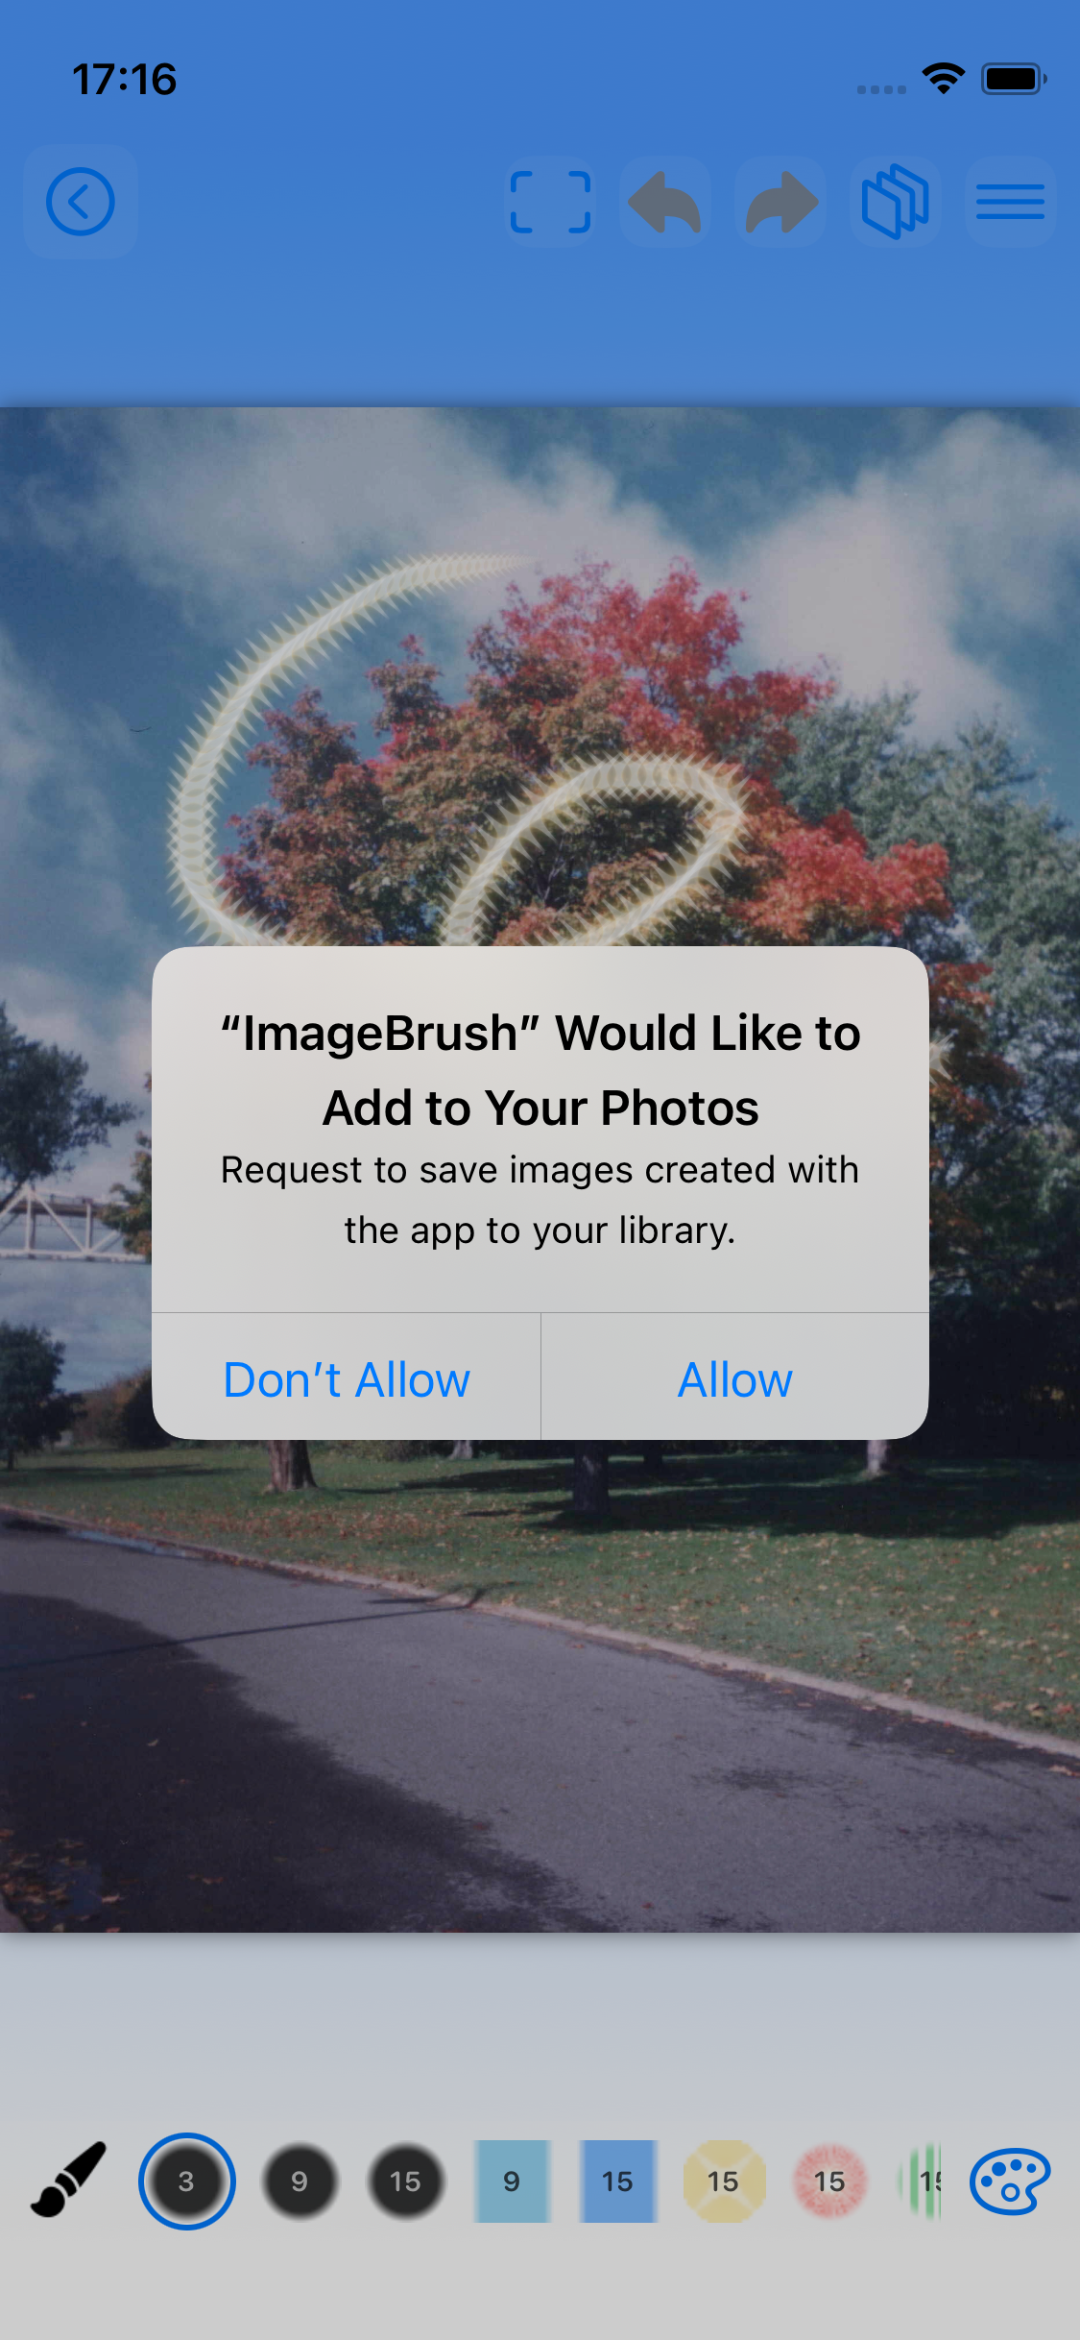 |
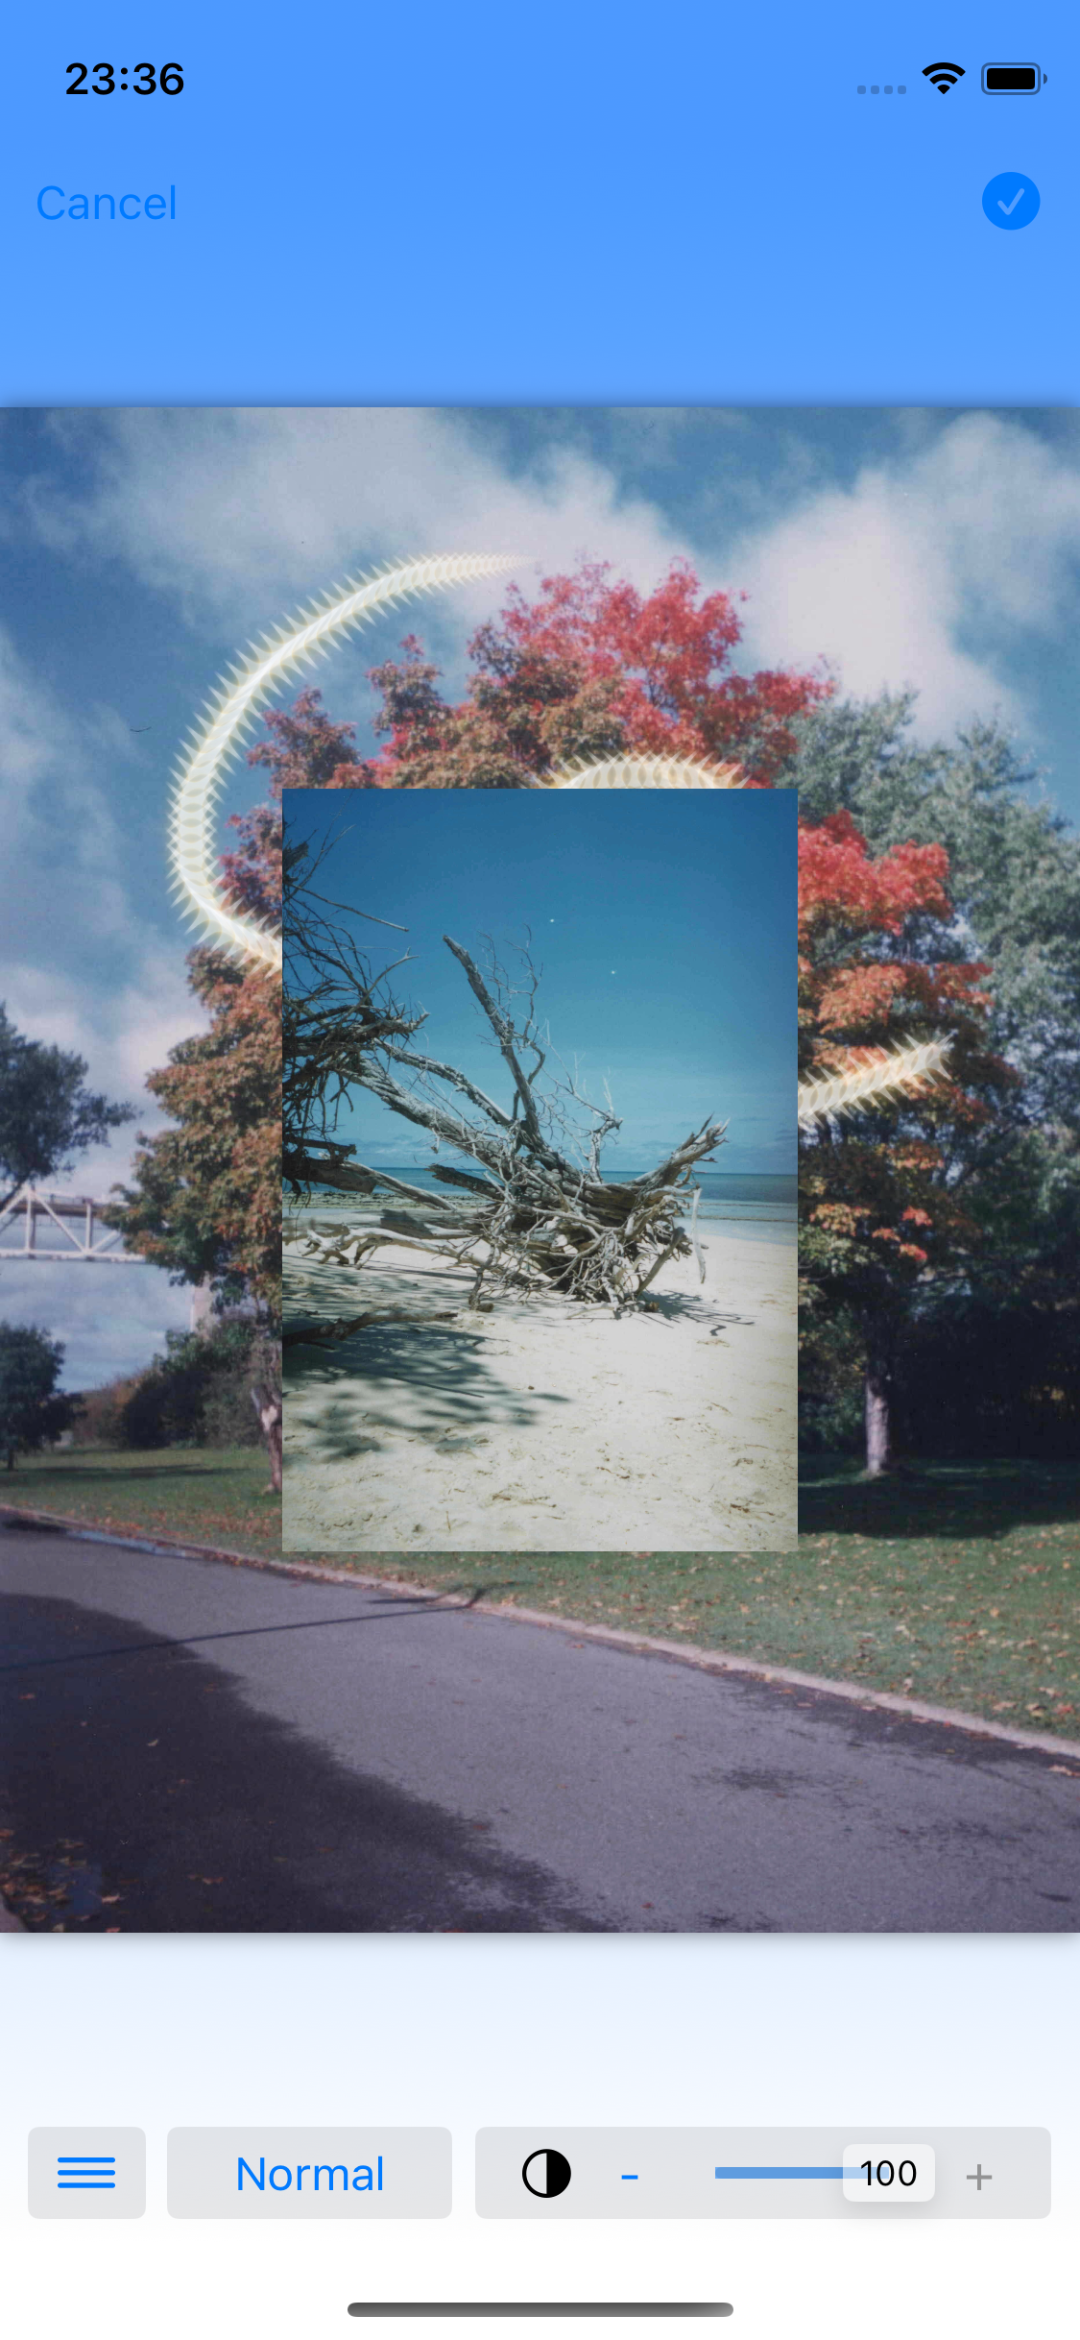
* Photo Library Save Confirmation Dialog
- Select [Allow] to save images to your Photo Library.
|
| Brush editing screen |
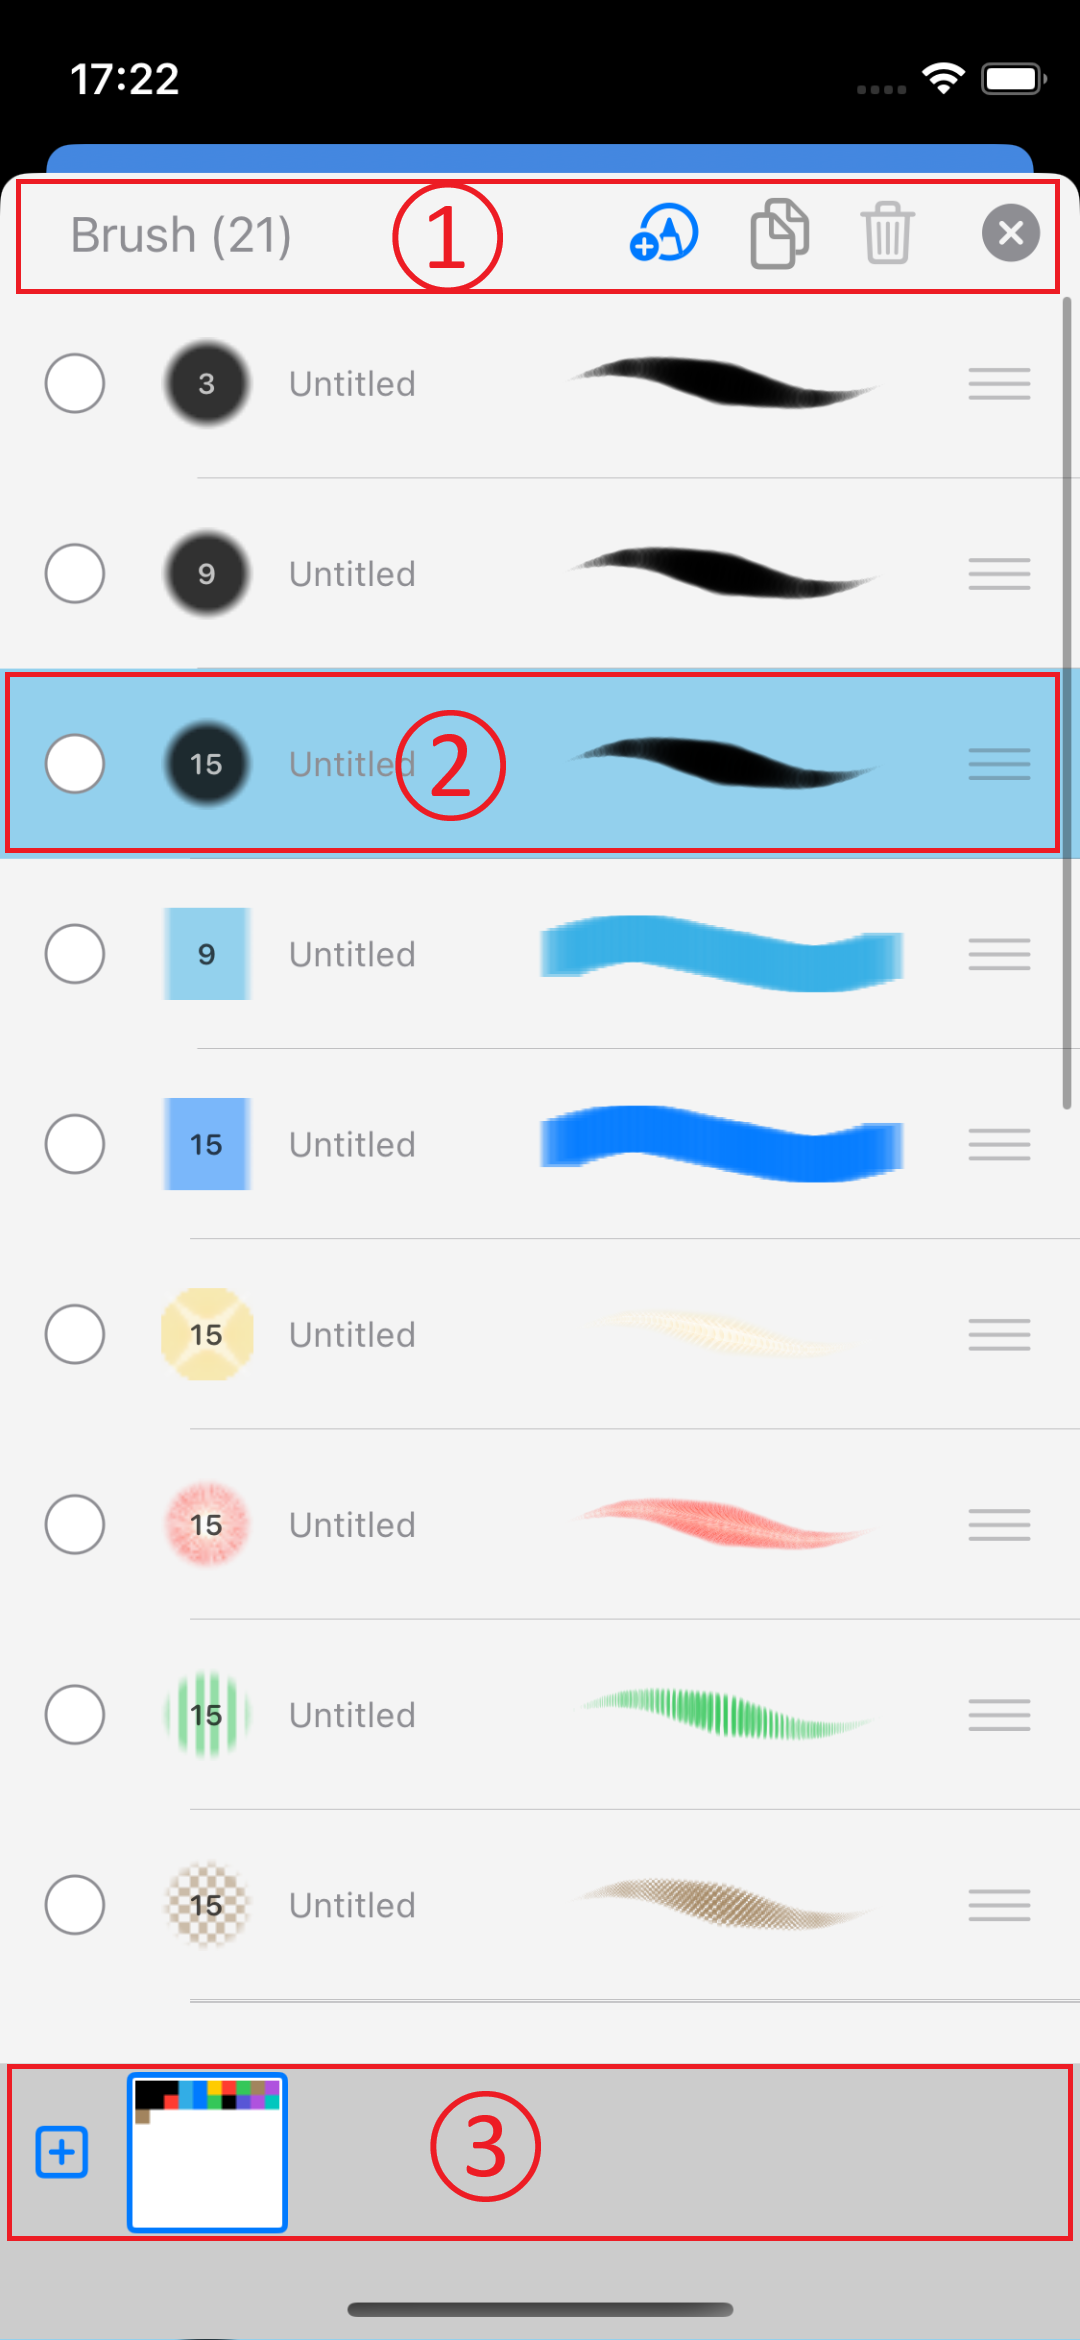 |
* Tap the icon in the lower right corner of the drawing screen to display the brush list screen.
- The brush list displayed in the scroll bar at the bottom of the drawing screen is displayed from top to bottom.
1. Top-of-screen functions (from left)
- Number of drawing brushes
 Add : Add a drawing brush. Add : Add a drawing brush.
Duplicate : Duplicate the selected drawing brush.
Delete : Delete the selected drawing brush.
 Close : Closes the screen. Close : Closes the screen.
2. Brush Row (from left)
- Circle icon : Select a brush.
- Brush icon : Displays the brush image.
- Brush name : Displays the brush name.
- Drawing image : Displays the drawing image.
- Grasp icon : Replaces the brush.
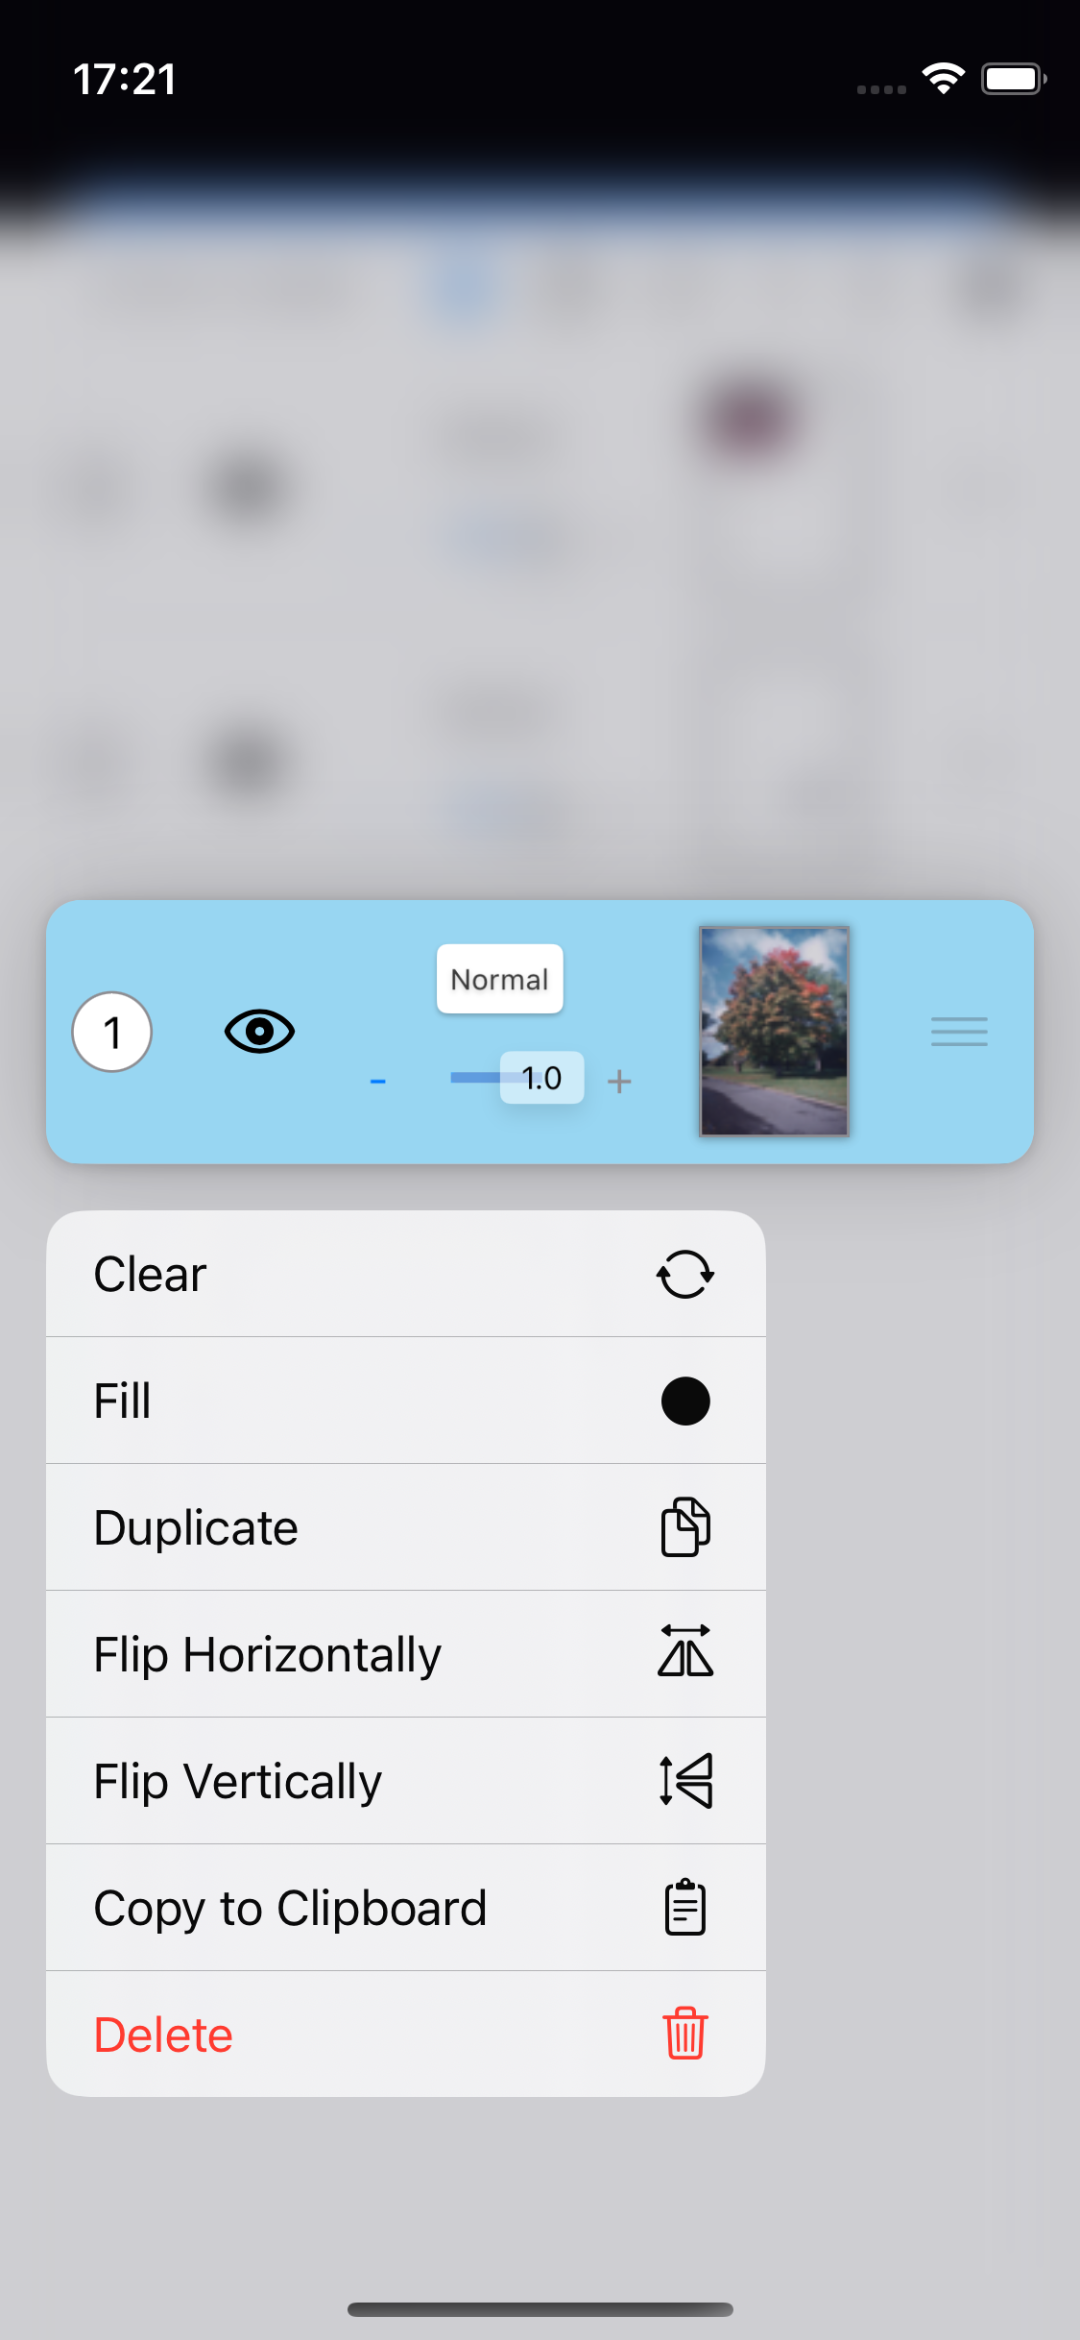
3. Palette List
- Displays a list of palettes.
 Click the + button on the left to add a new palette. Click the + button on the left to add a new palette.
* Press and hold the brush row : A pop-up menu will appear.
|
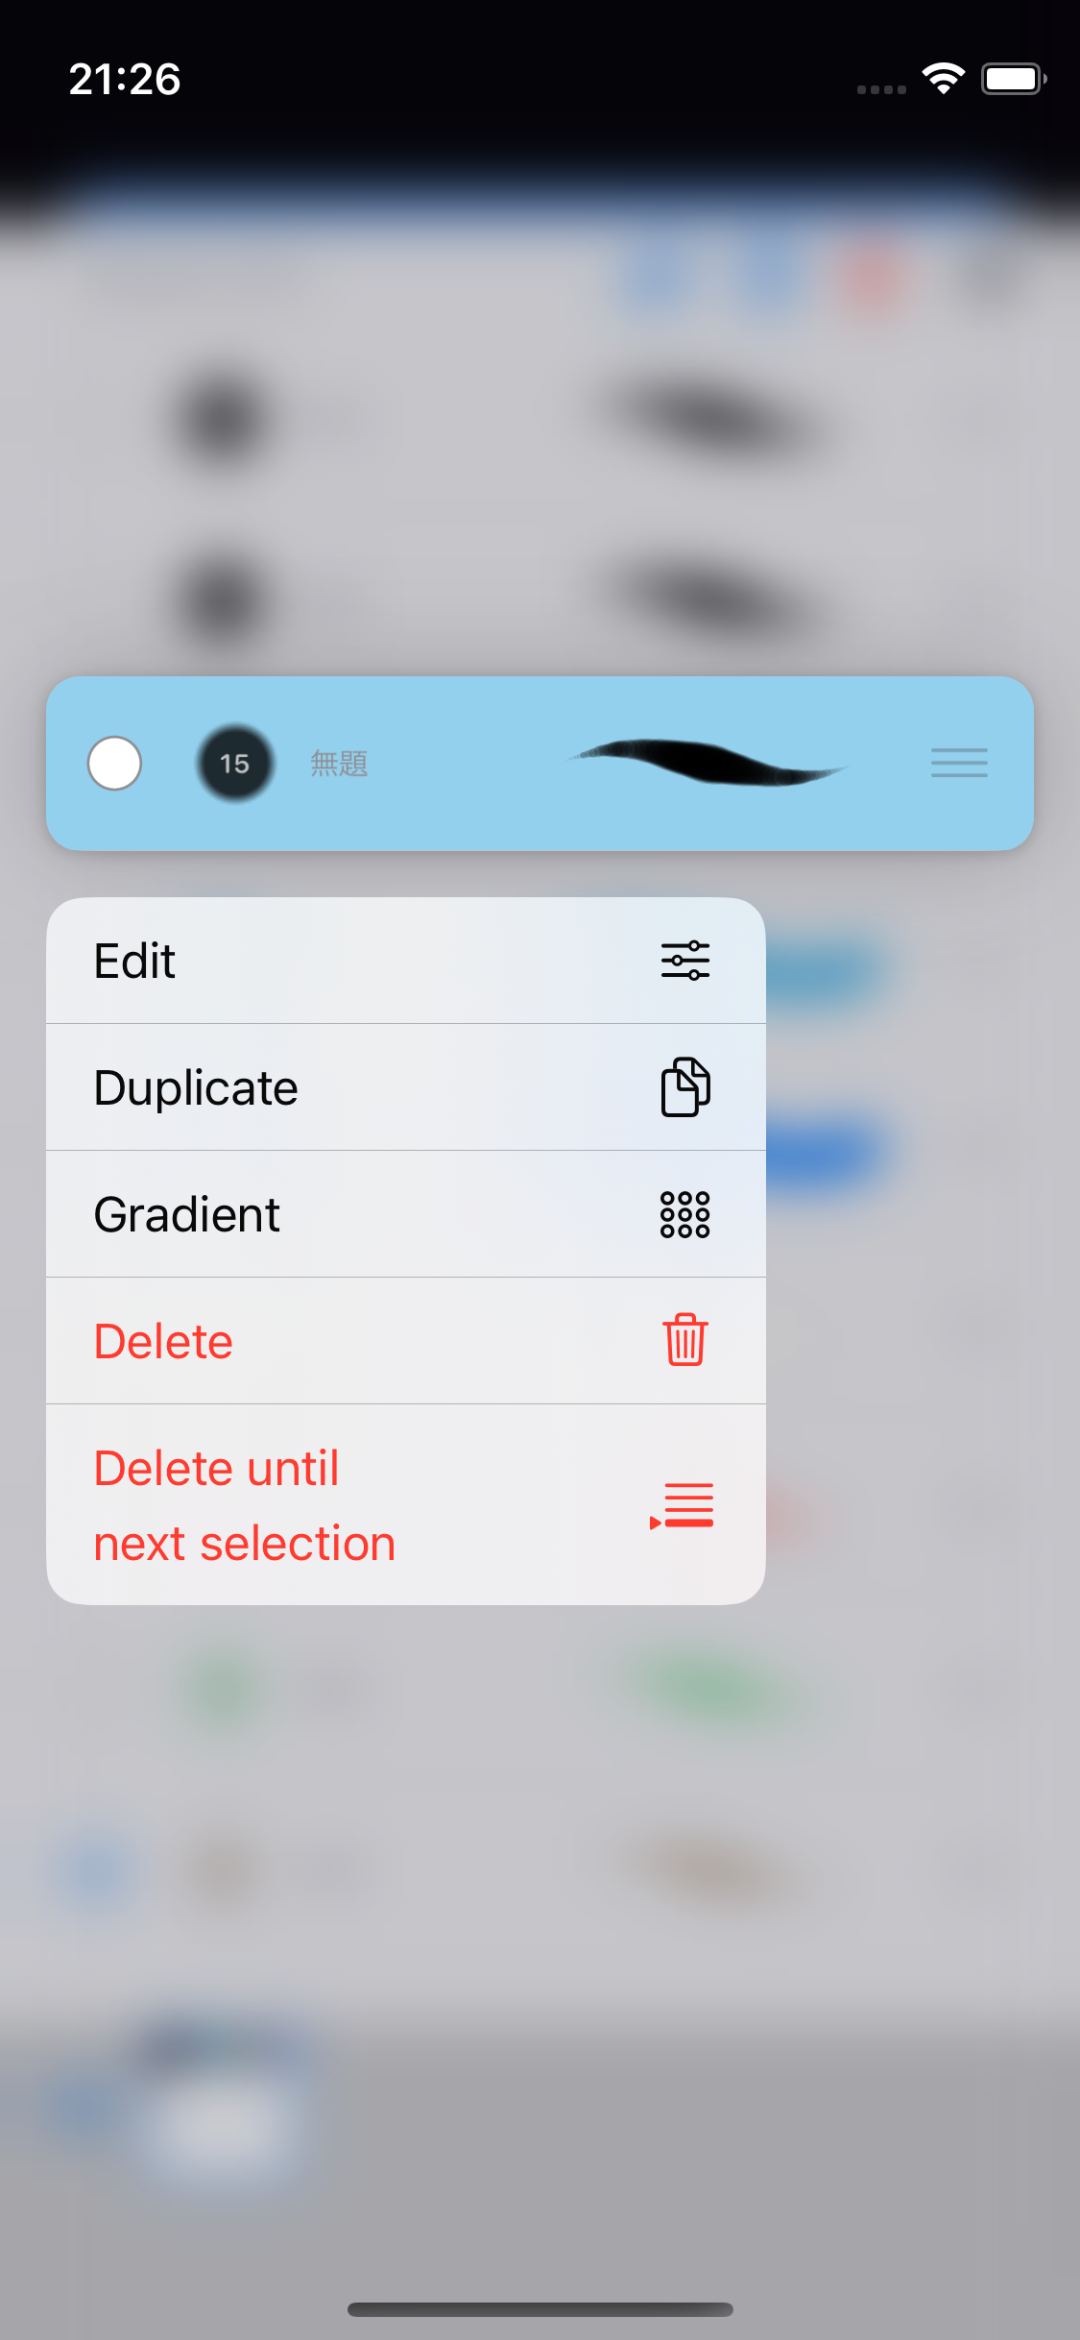 |
* A pop-up menu appears when you press and hold the brush row.
Edit : The selection brush editing screen appears.
Duplicate : Creates a duplicate of the selection brush.
 Gradient : Creates a gradient selection brush. Gradient : Creates a gradient selection brush.
Delete : Deletes the selection brush.
 Delete Up to Next Selection : Deletes all brushes up to the next selection. Delete Up to Next Selection : Deletes all brushes up to the next selection.
|
 |
* Brush Editing Screen
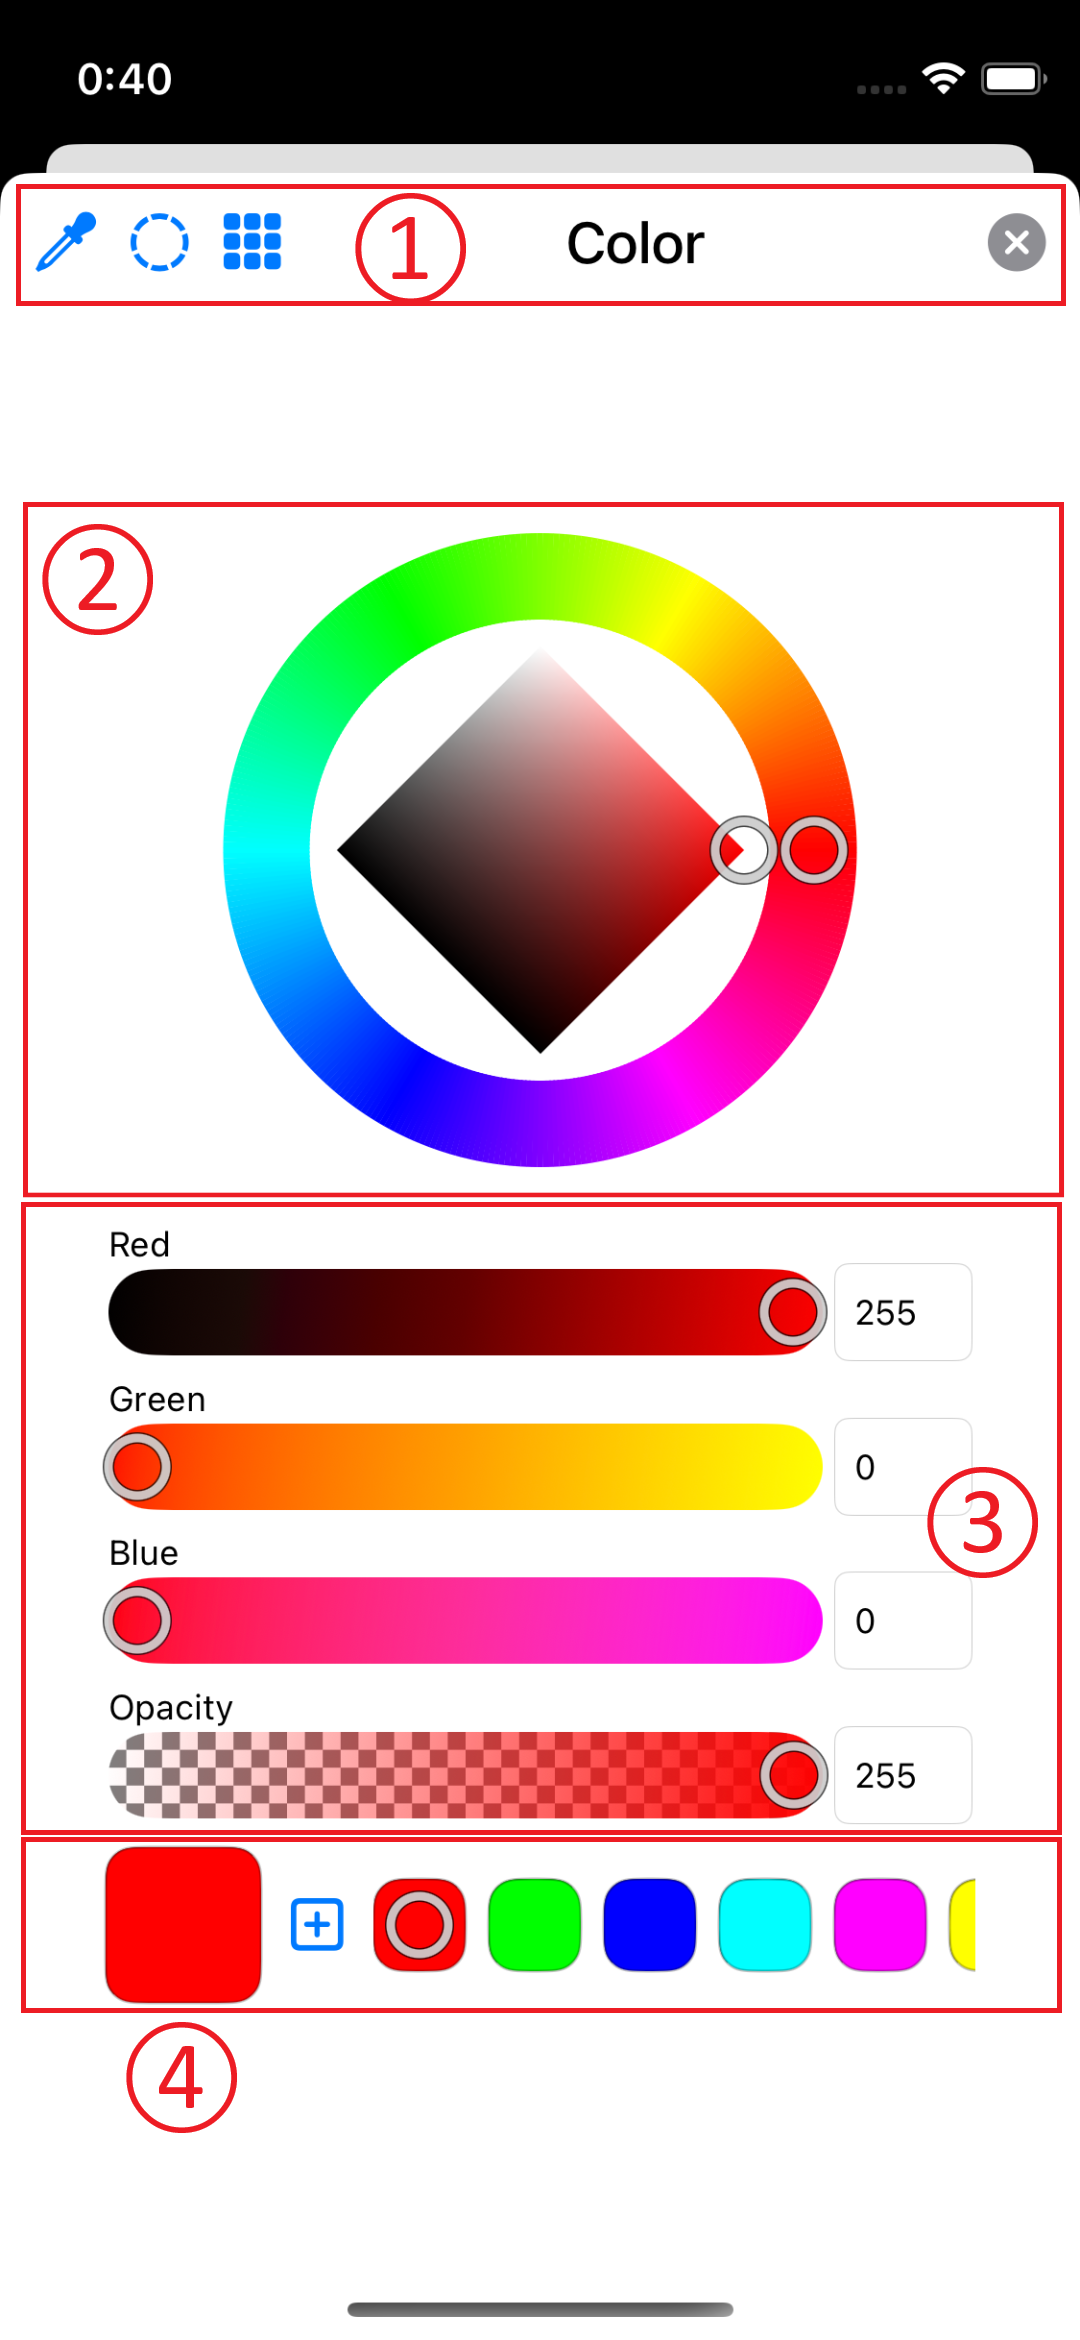
1. Icon in the upper right
Close the screen.
2. Brush Icon
- Draw an image of the brush.
- Tap to display a menu listing brush types.
3. Brush Properties
- Name : Tap the text box to enter a name for the brush.
- Color : Tap a color to select a color from the color palette.
- Slider Bar : Adjust each value to customize the brush.
|
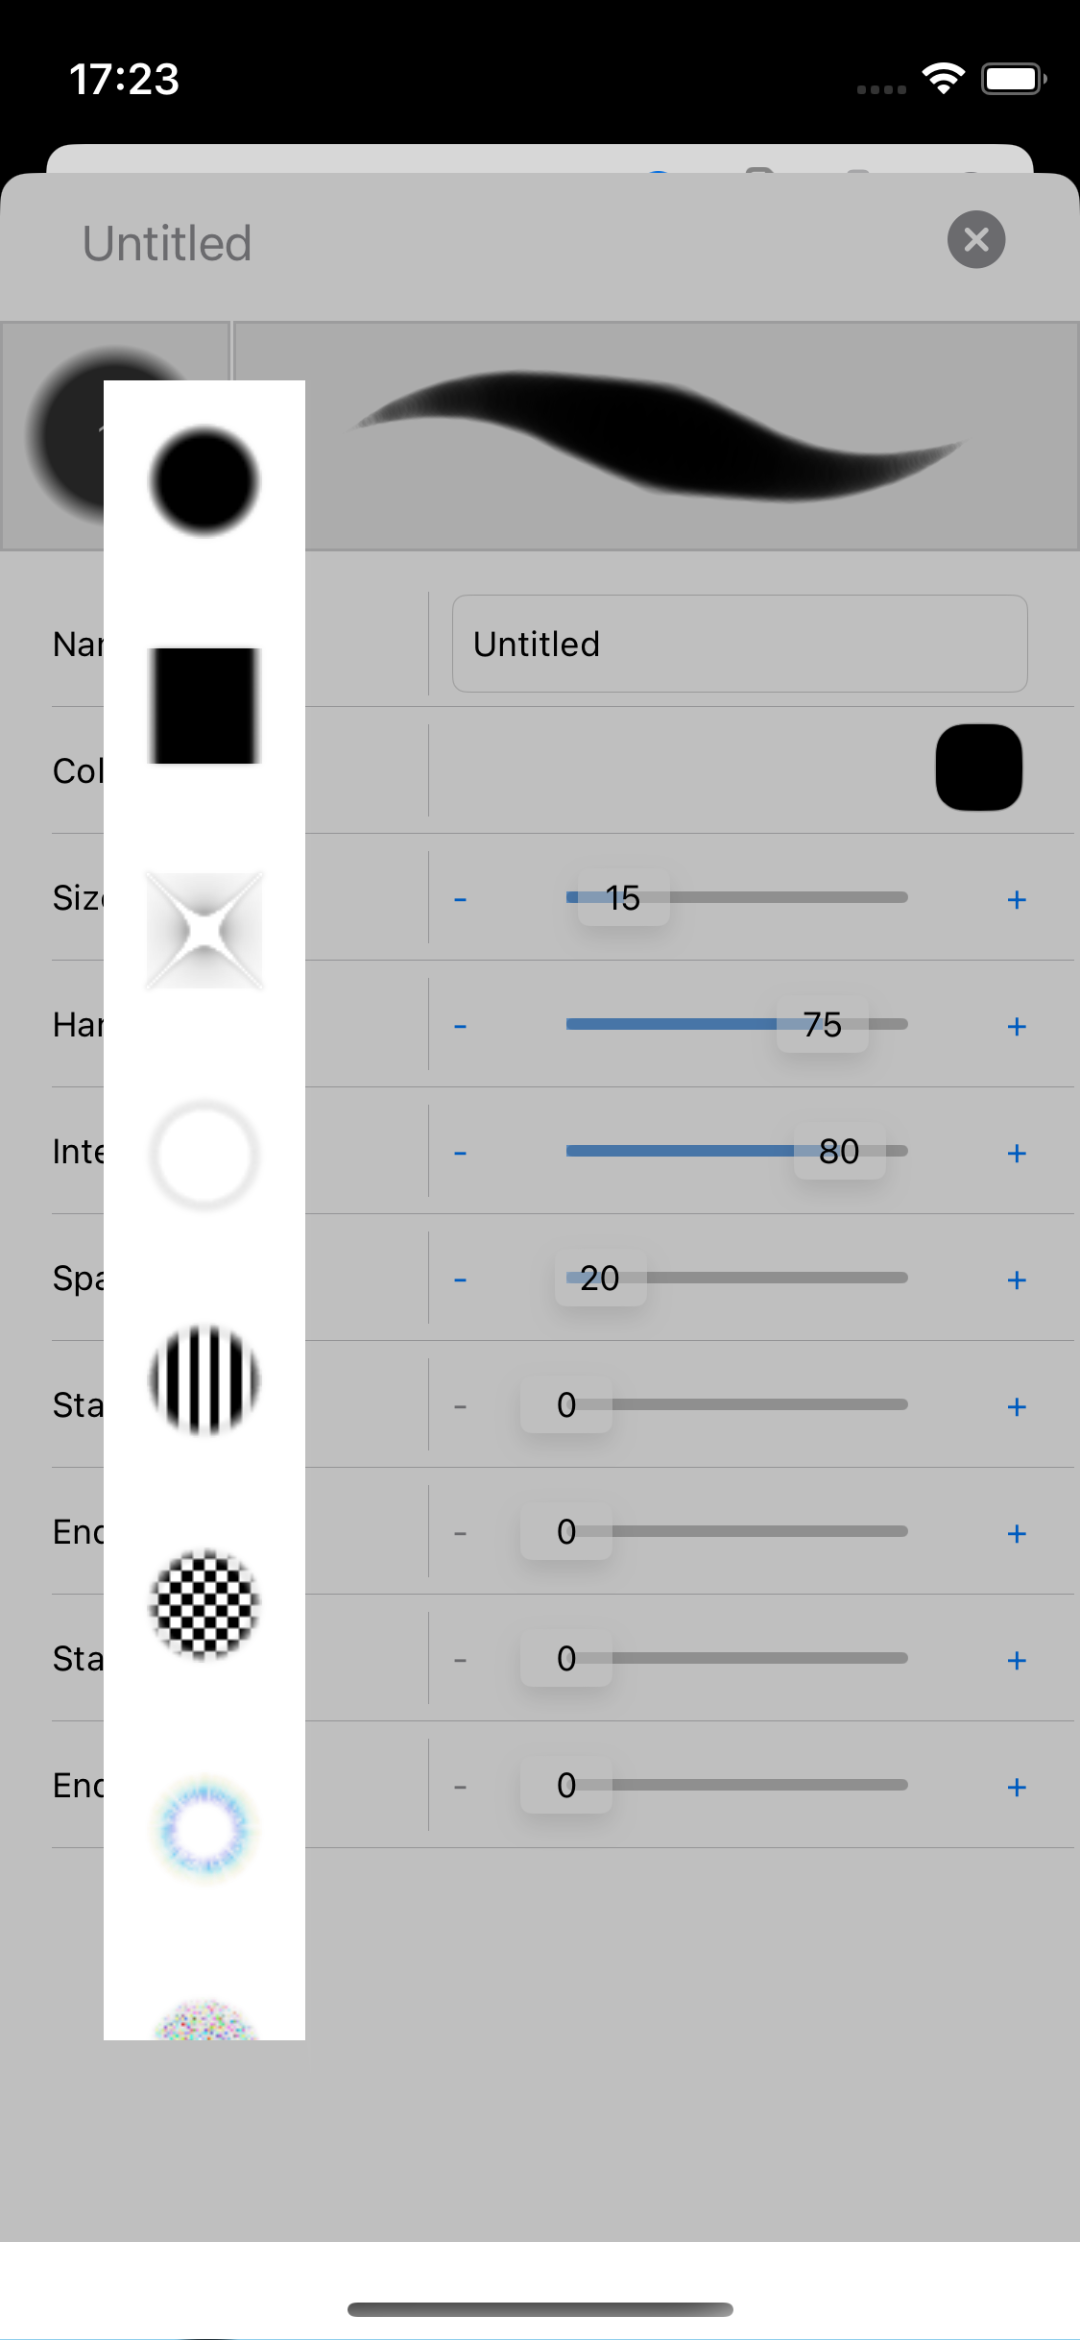 |
* Brush Type List Menu
- Tap to change to the brush you want.
|
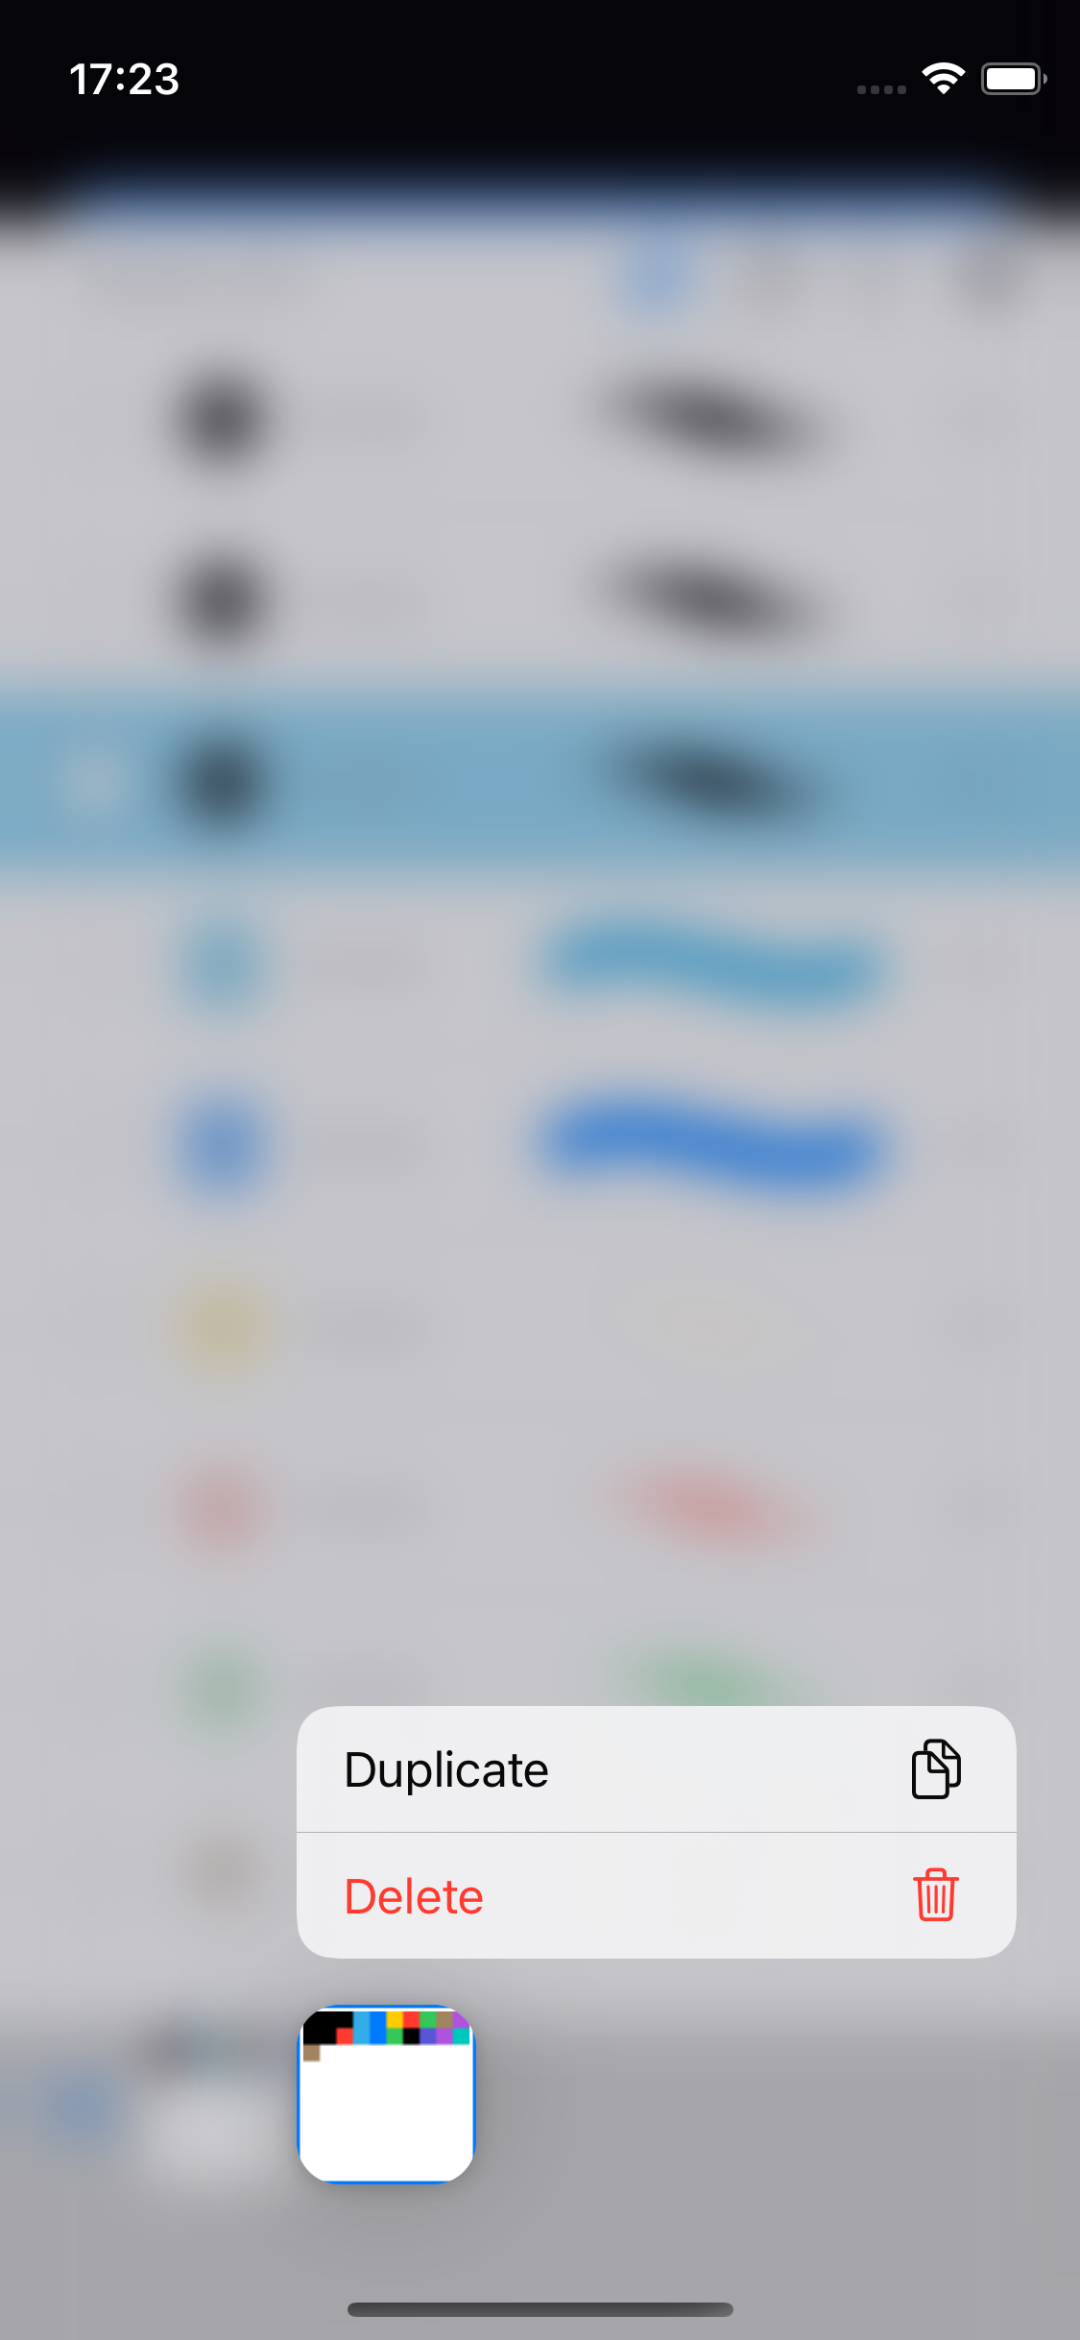 |
* Pop-up menu displayed by long pressing the palette list
- Duplicate : Creates a duplicate of the selected palette.
- Delete : Deletes the selected palette.
|
Copyright (C) Hotaru Software All Rights Reserved.